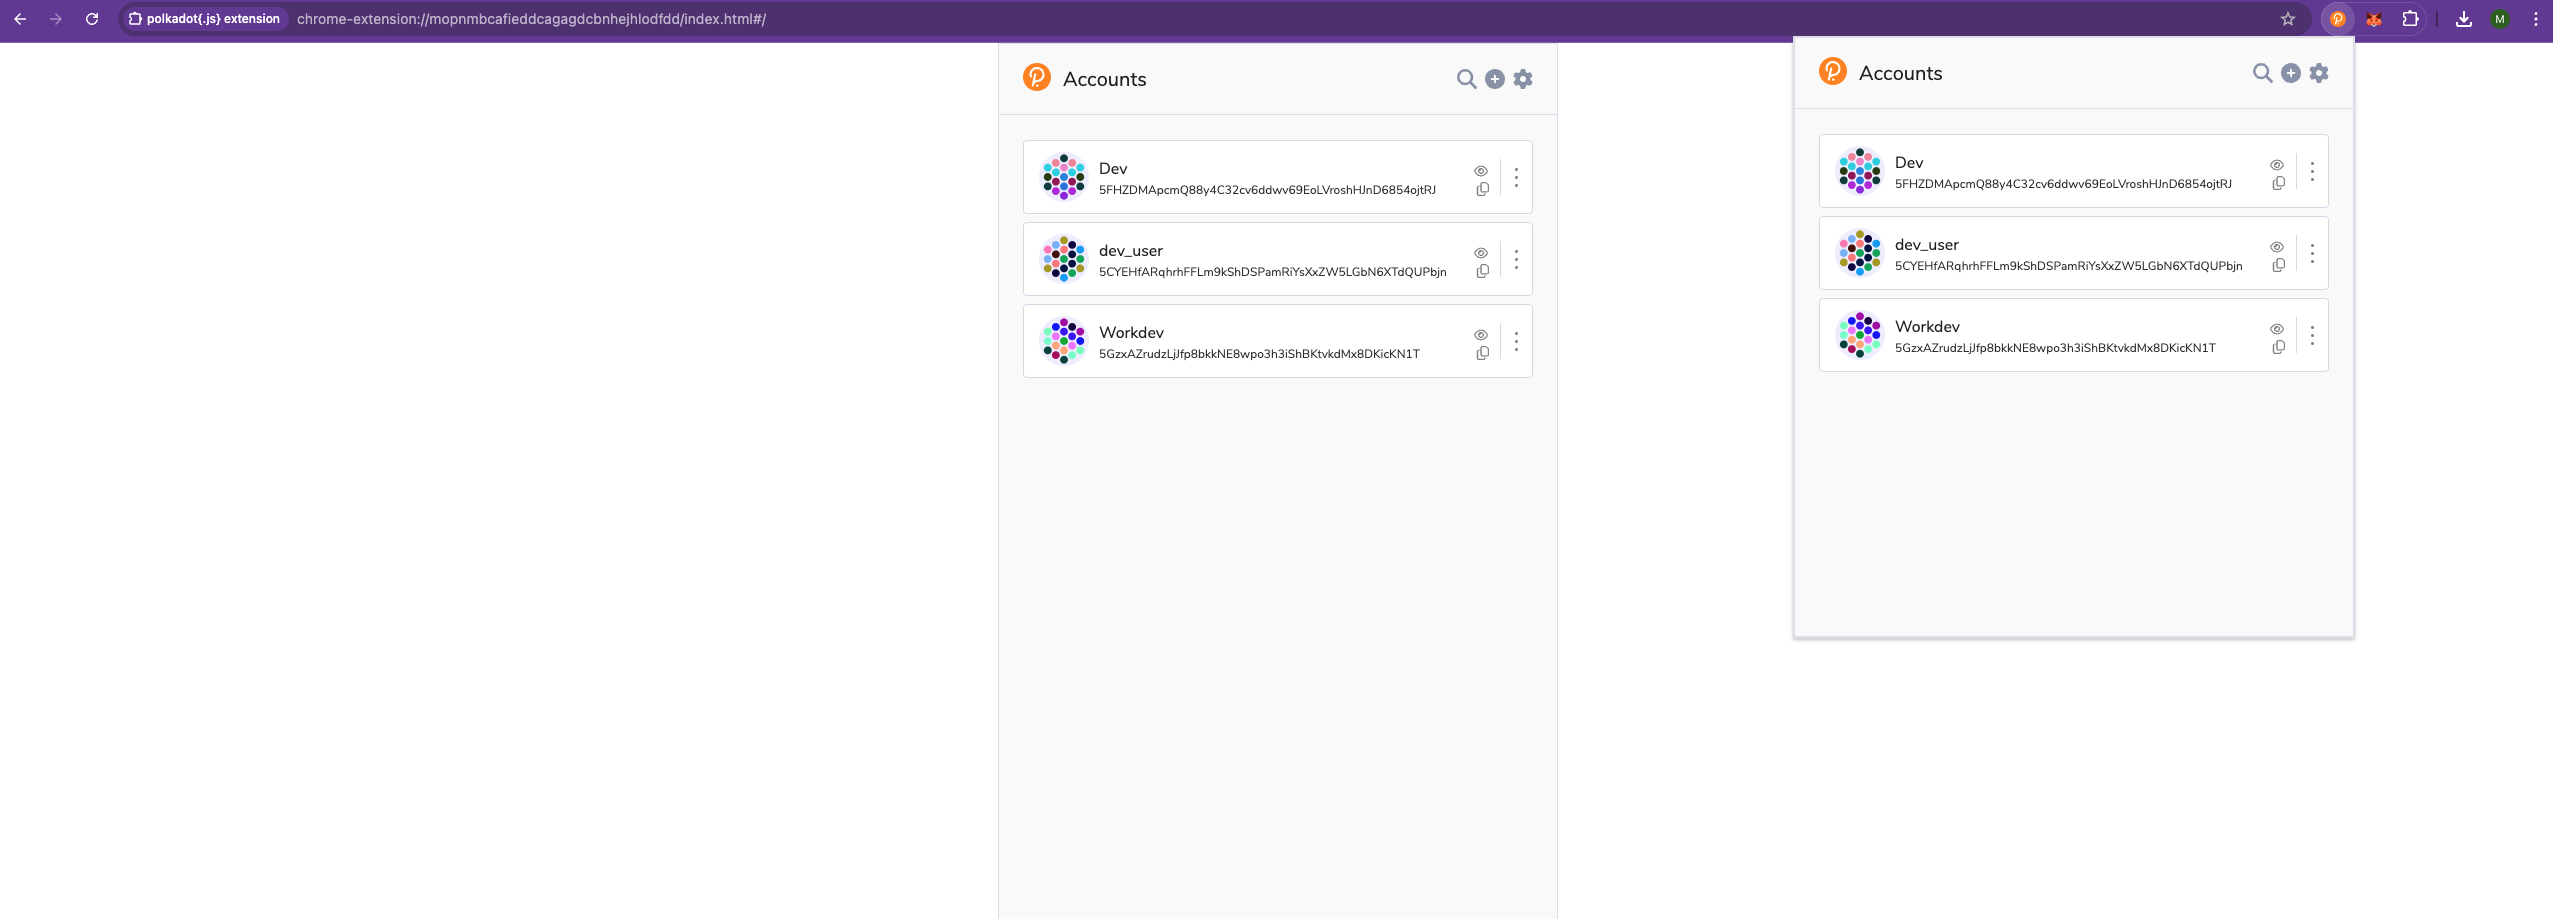
Create Polkadot.js Account
Step-by-step guide to creating and managing accounts using the Polkadot.js extension for secure interaction with Mandala Testnet.
Overview
The Polkadot.js extension is a browser extension that provides secure account management for Substrate-based blockchains. It generates and stores private keys locally, signs transactions, and integrates seamlessly with web applications.
Installing Polkadot.js Extension
Browser Support
The extension is available for:
- Chrome/Chromium - Recommended for development
- Firefox - Full feature support
Installation Steps
Chrome/Edge:
-
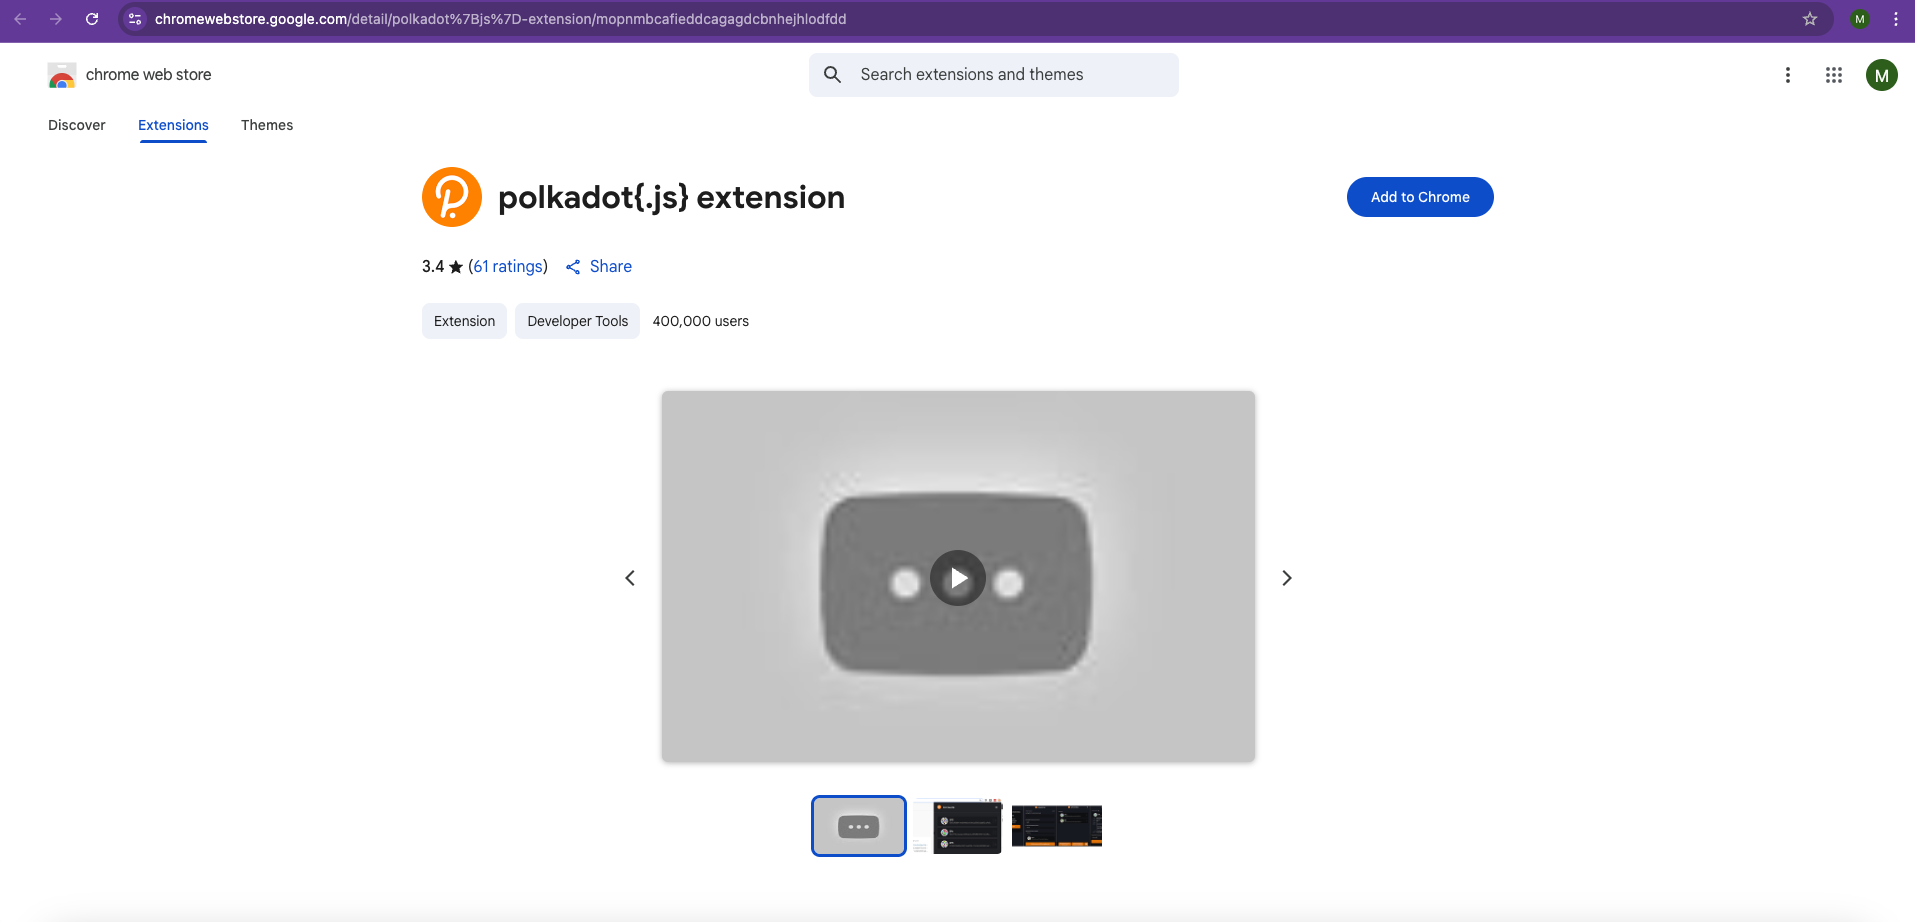
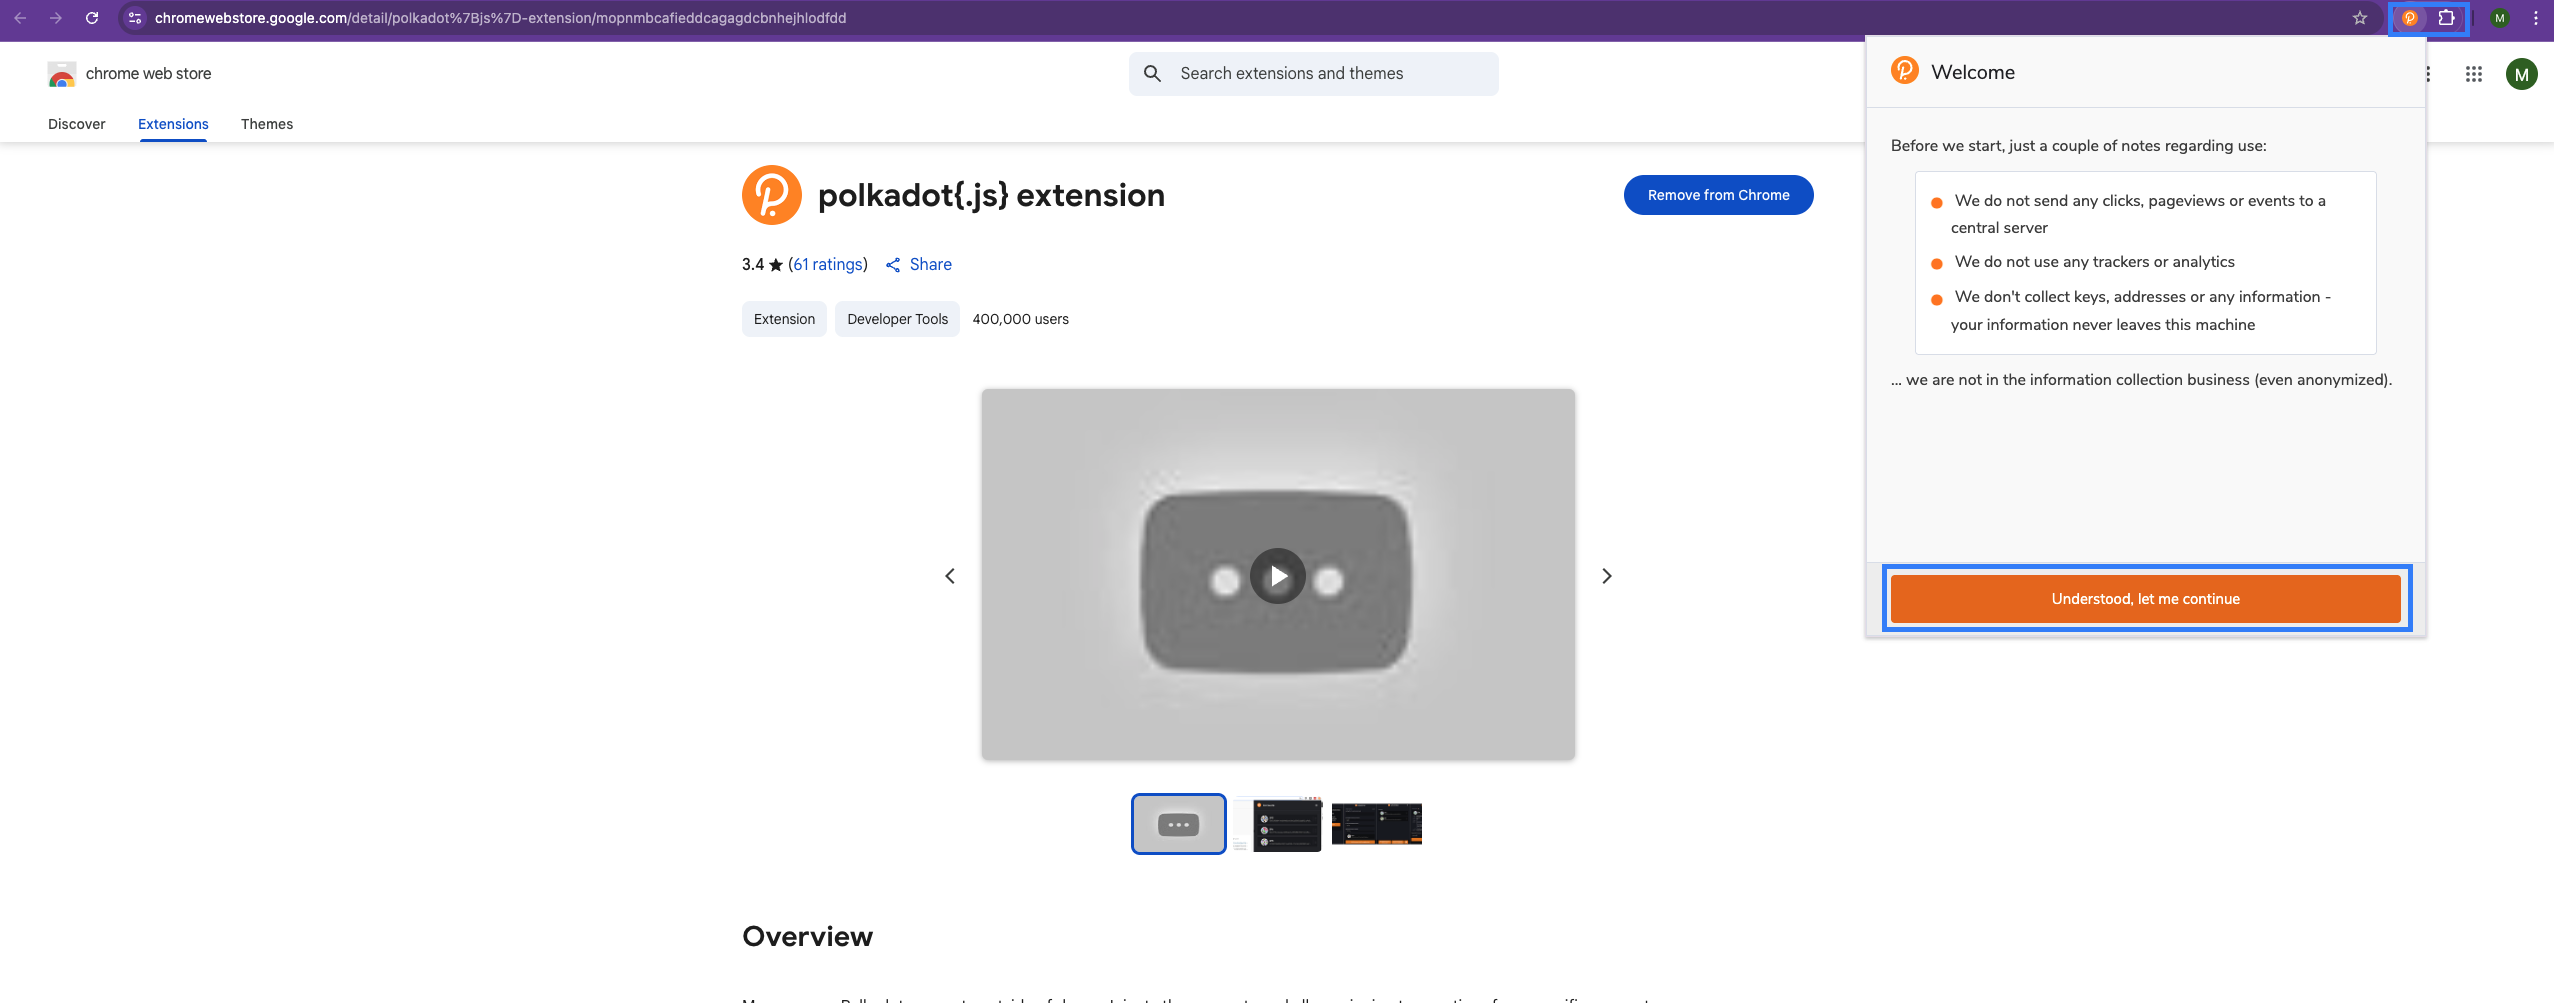
Visit Chrome Web Store
-
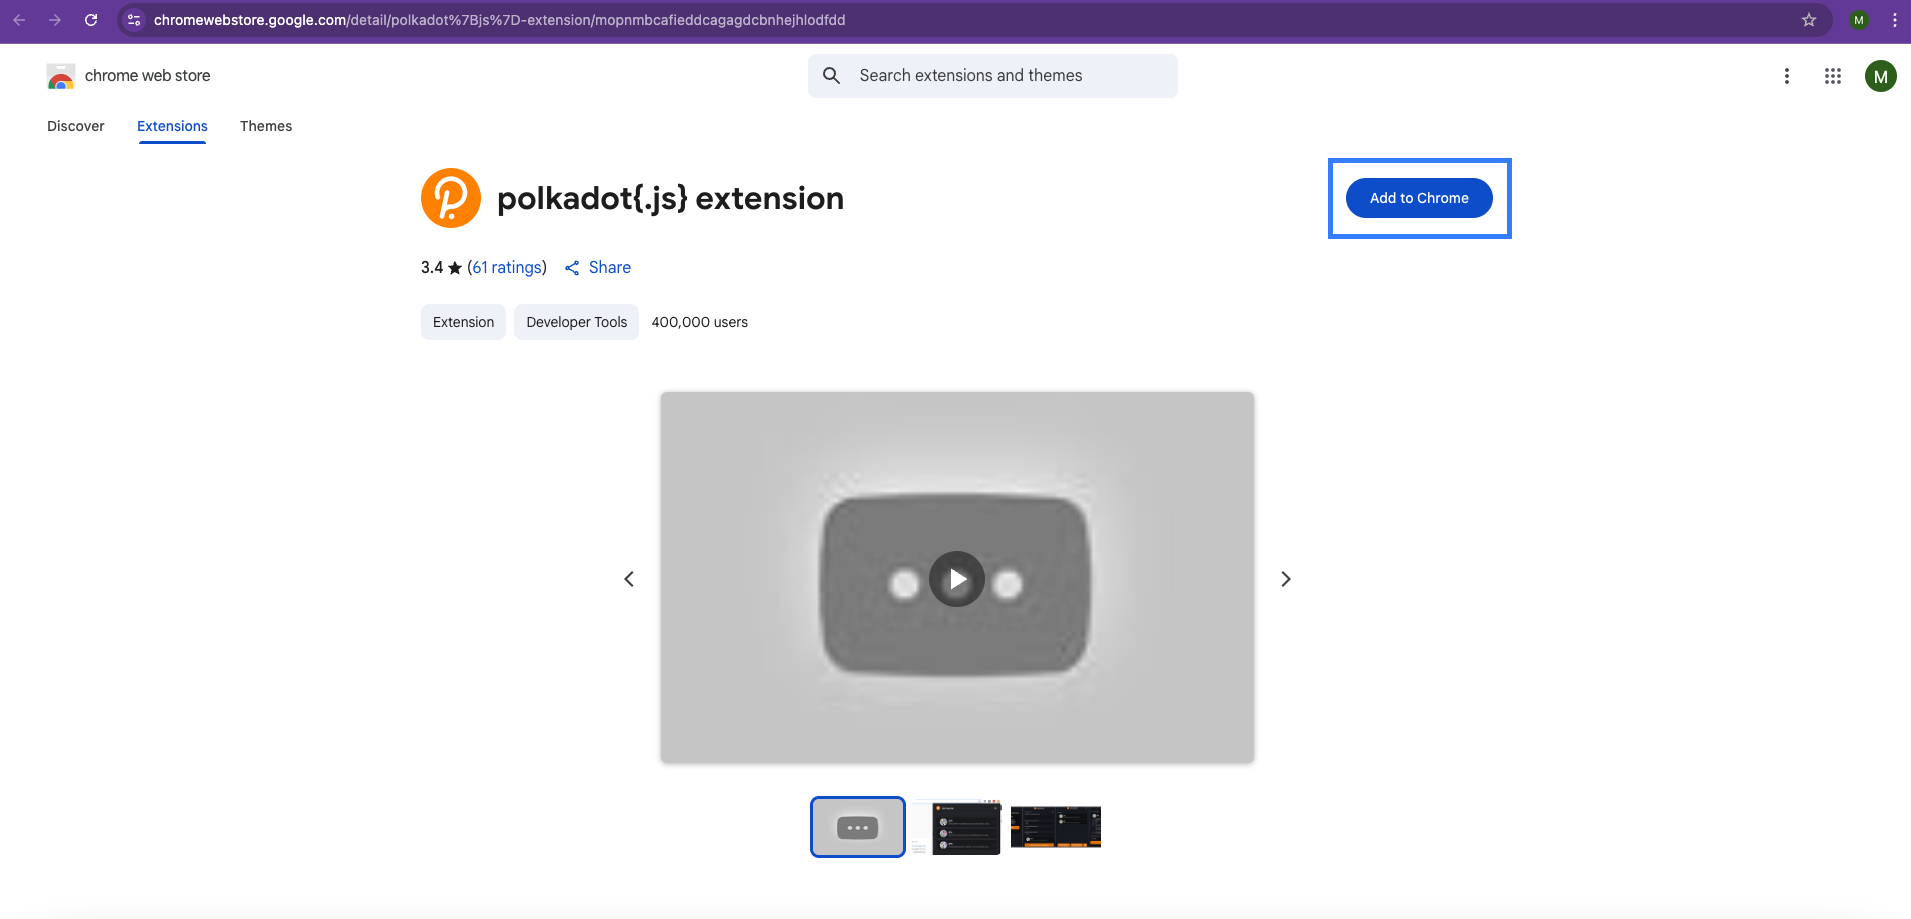
Click "Add to Chrome"
-
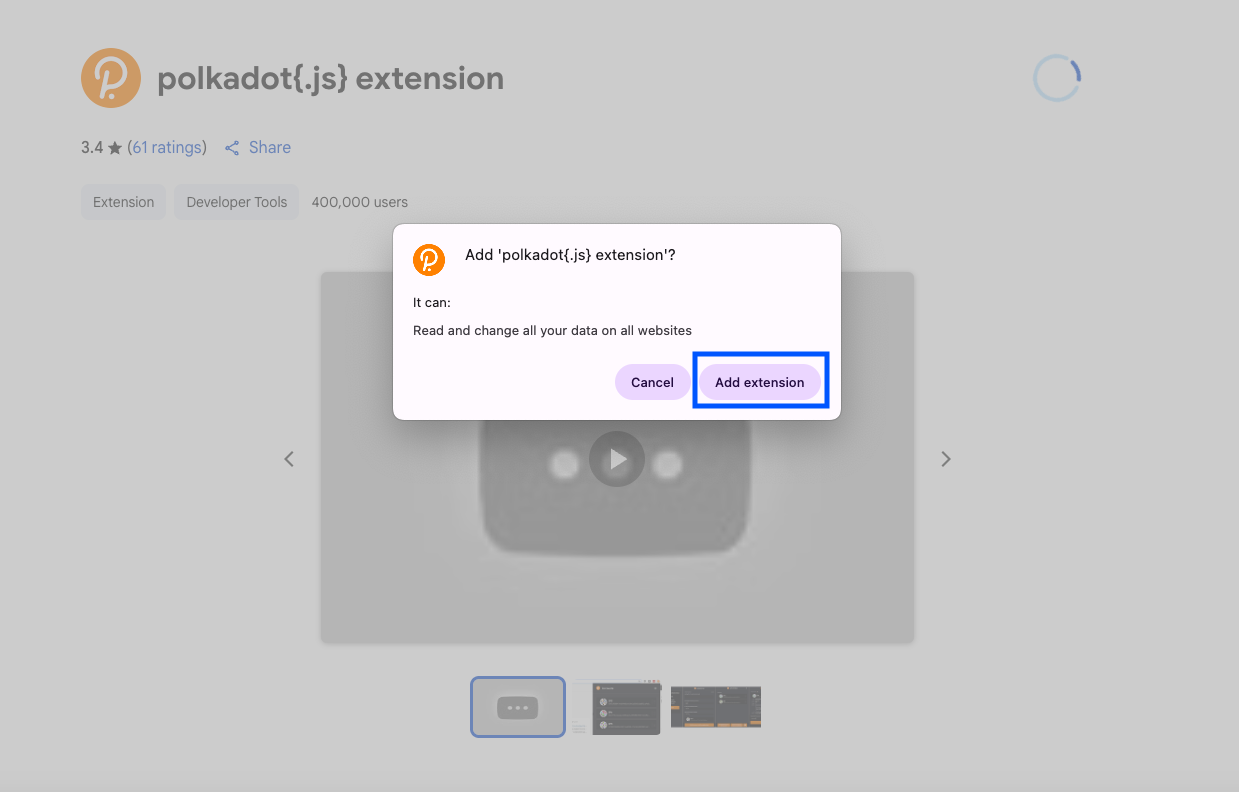
Confirm by clicking "Add extension"
-
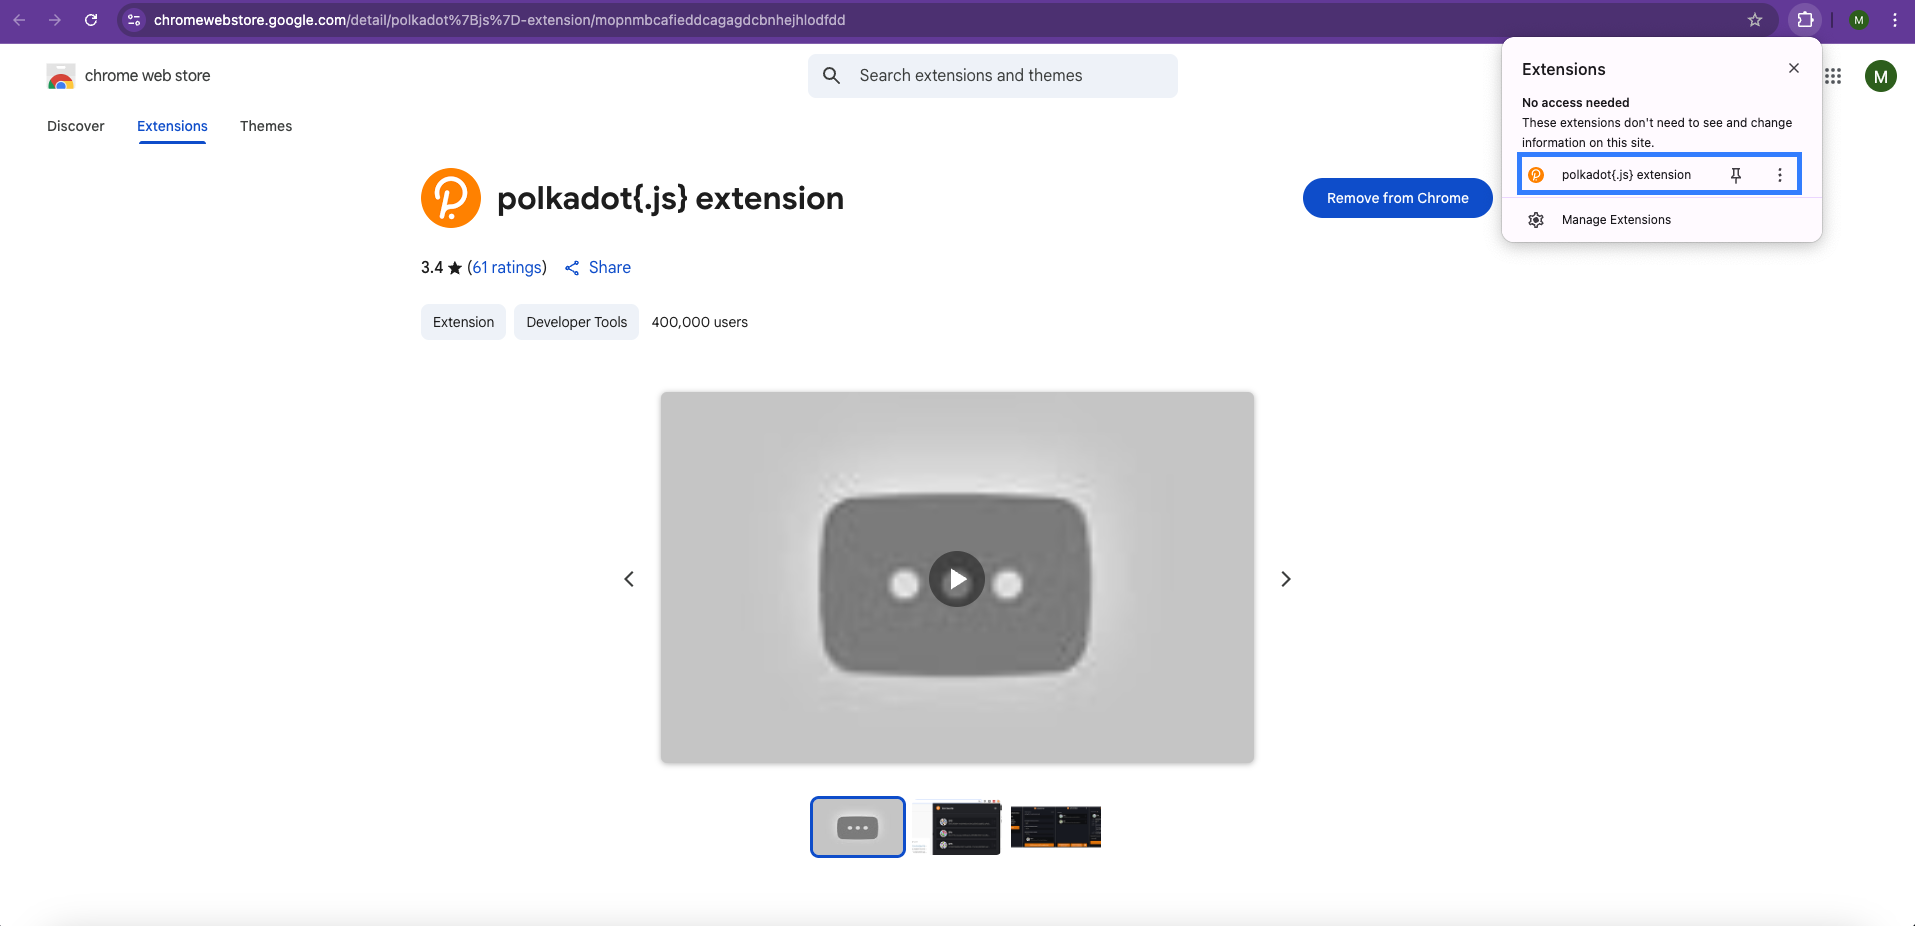
Pin the extension to your toolbar
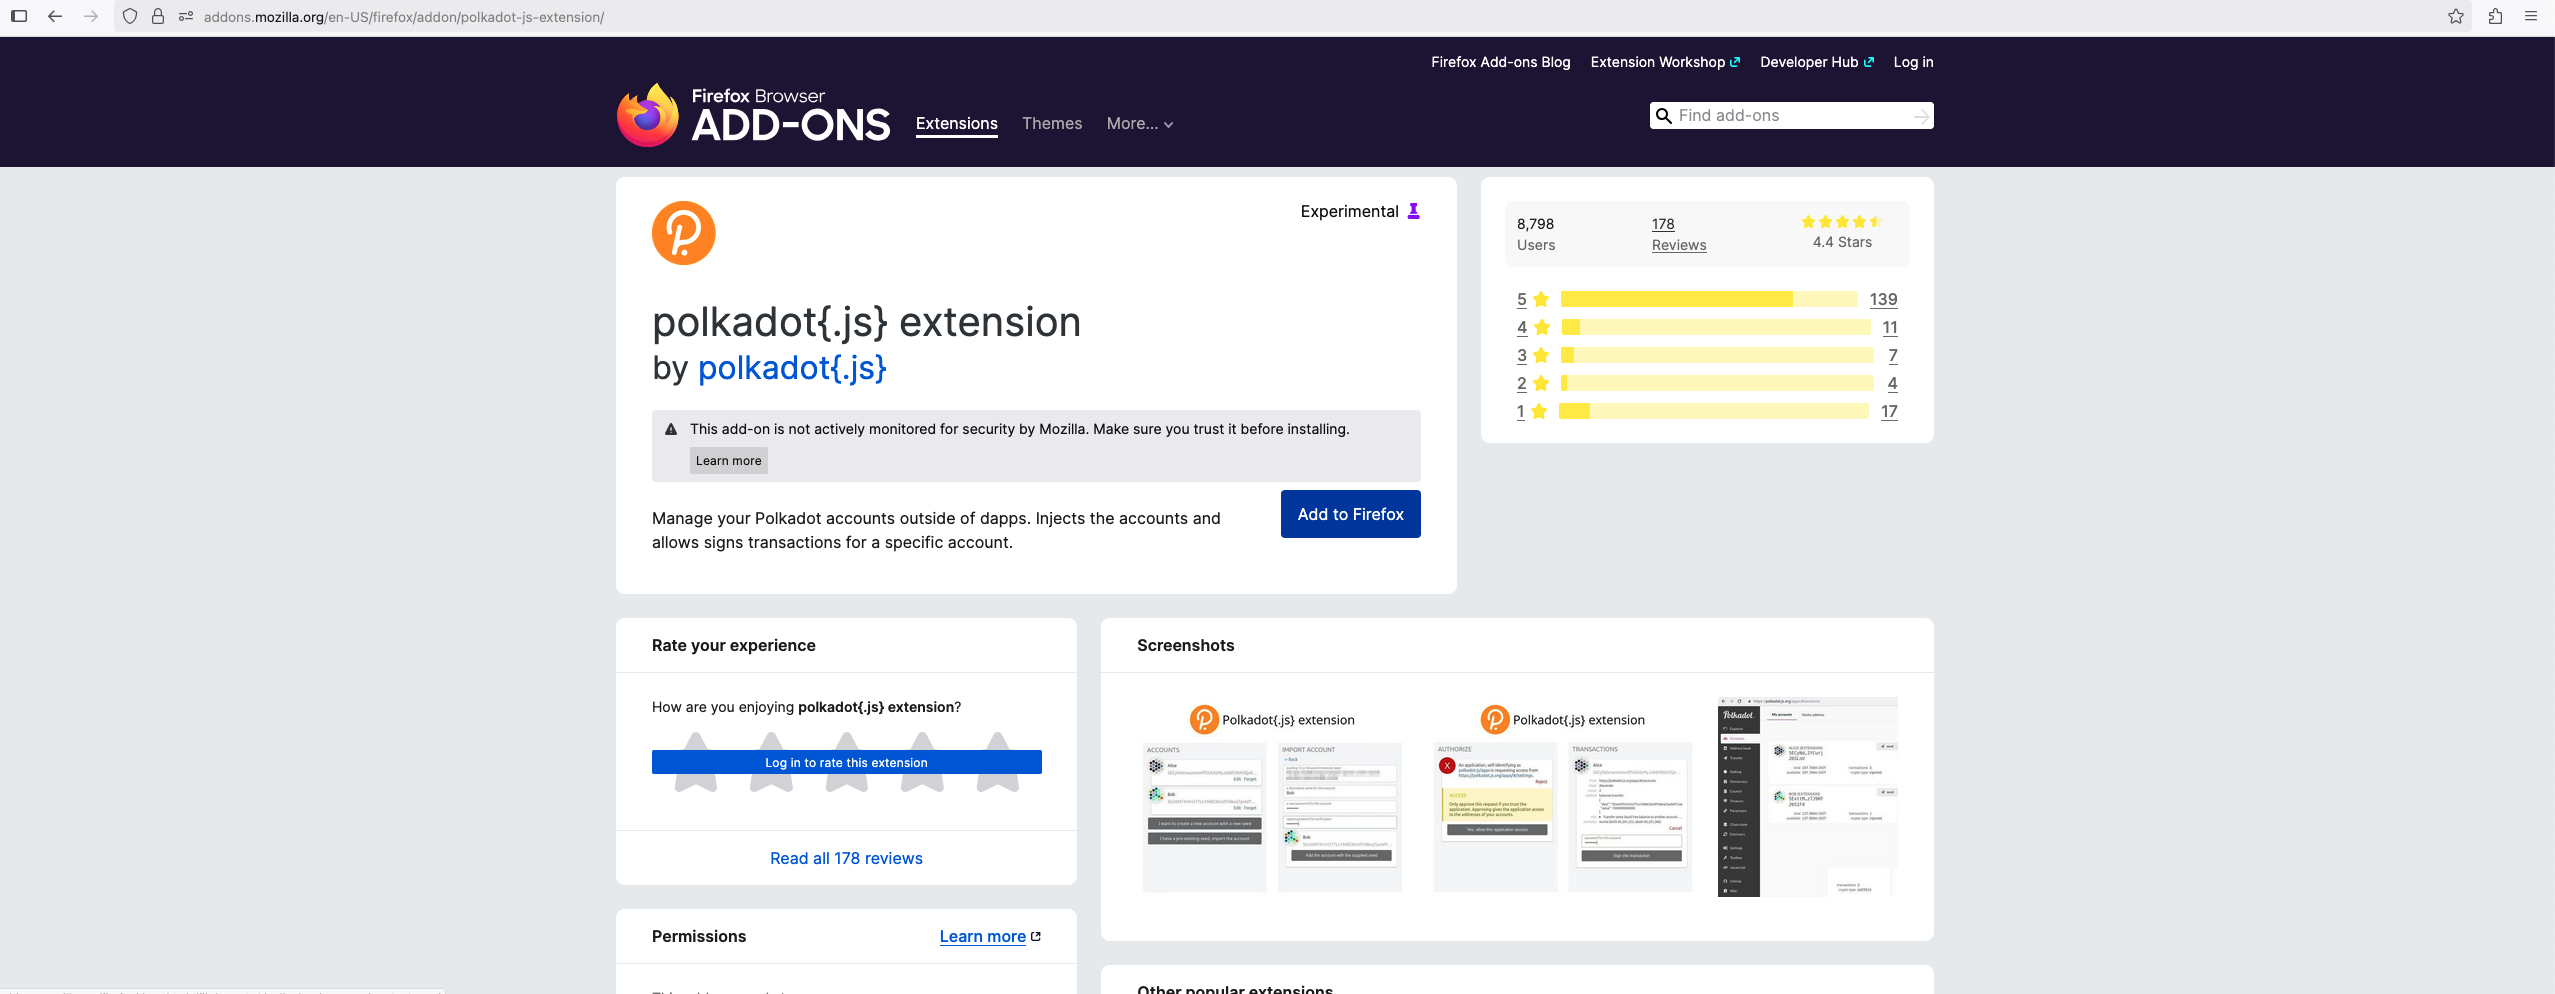
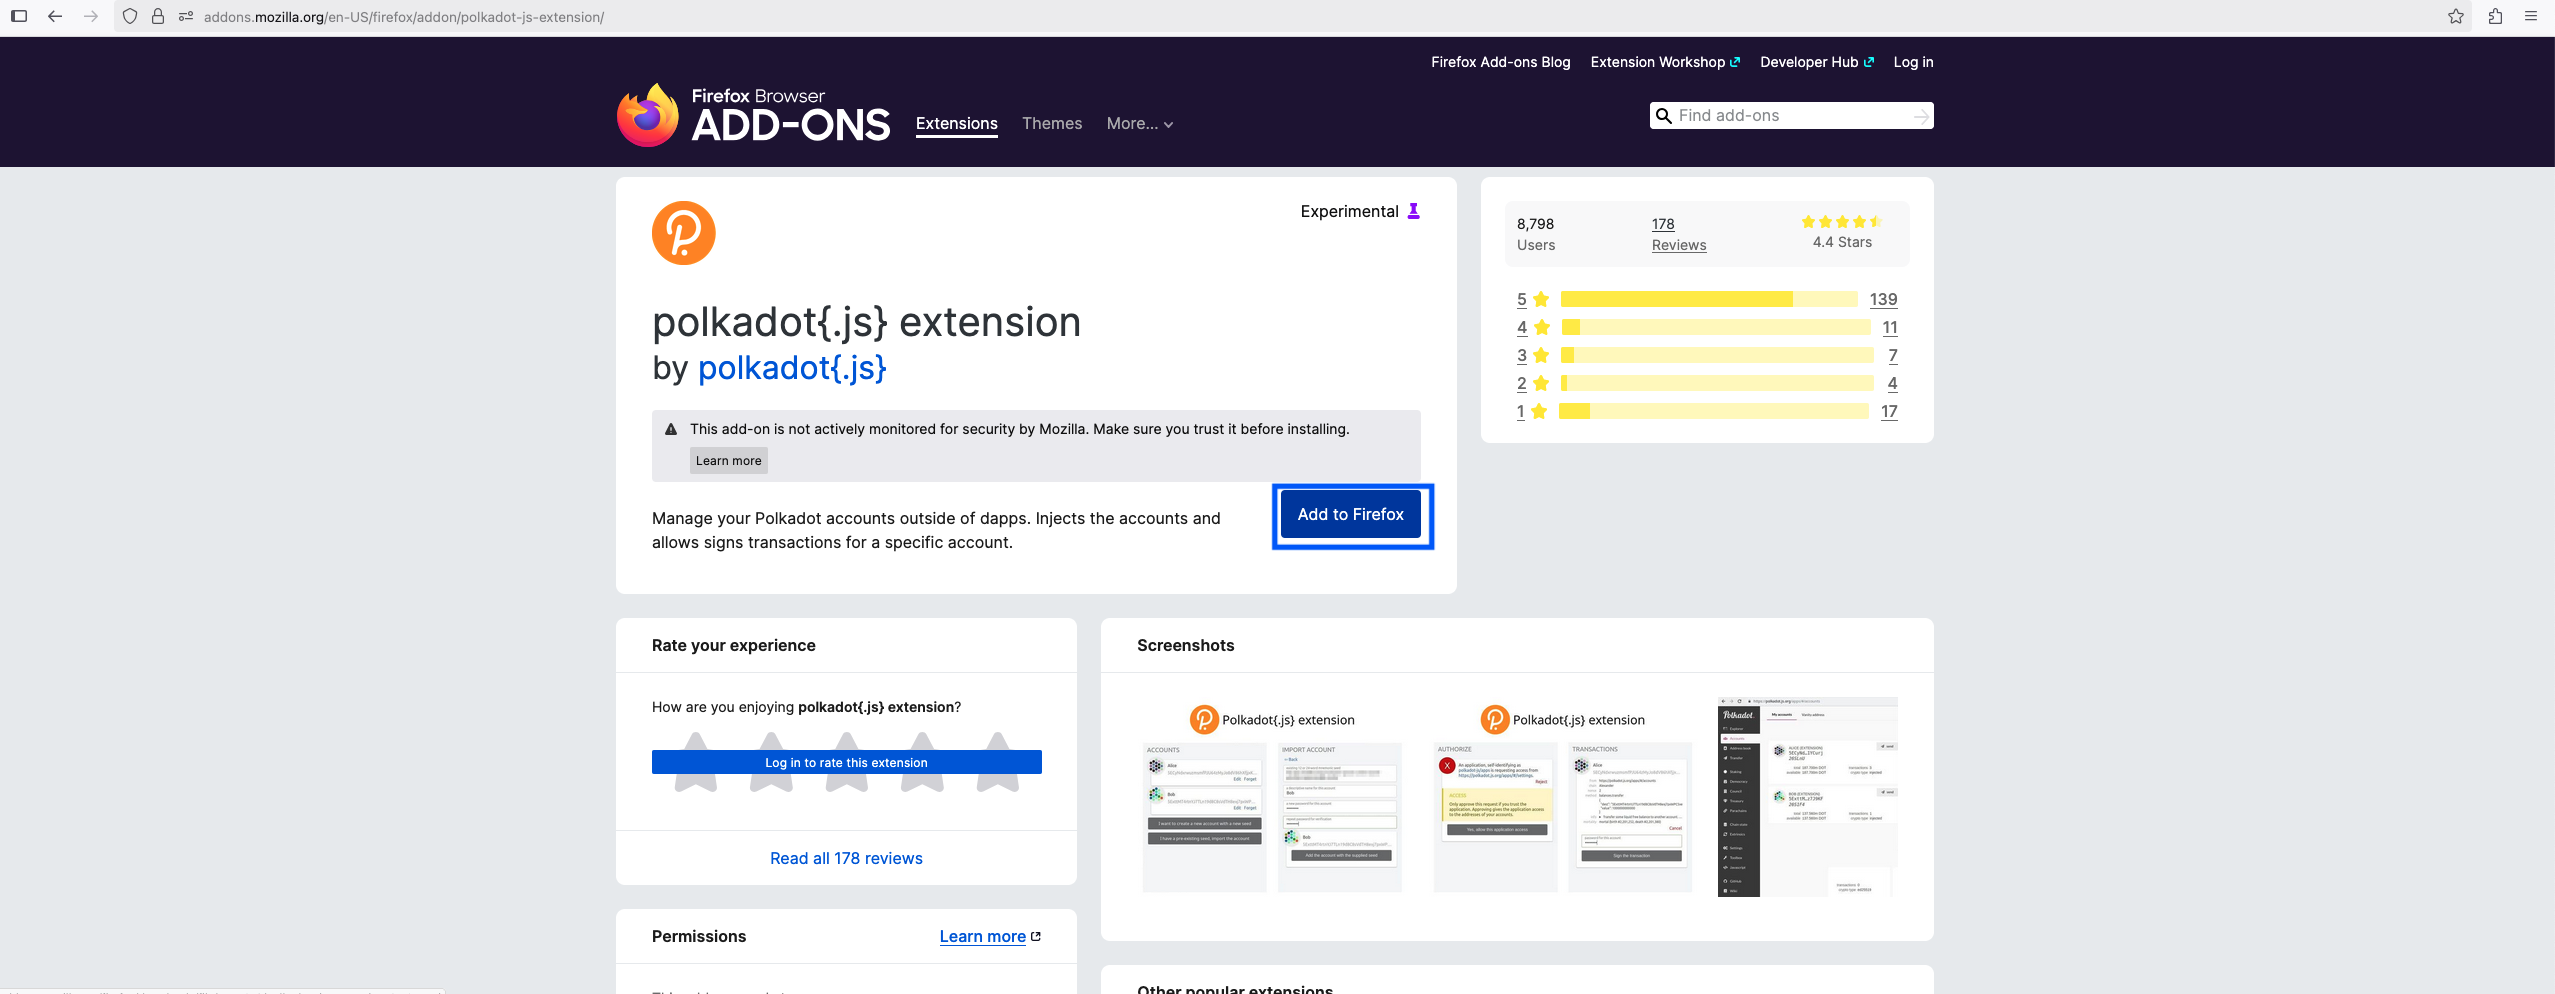
Firefox:
-
Visit Firefox Add-ons
-
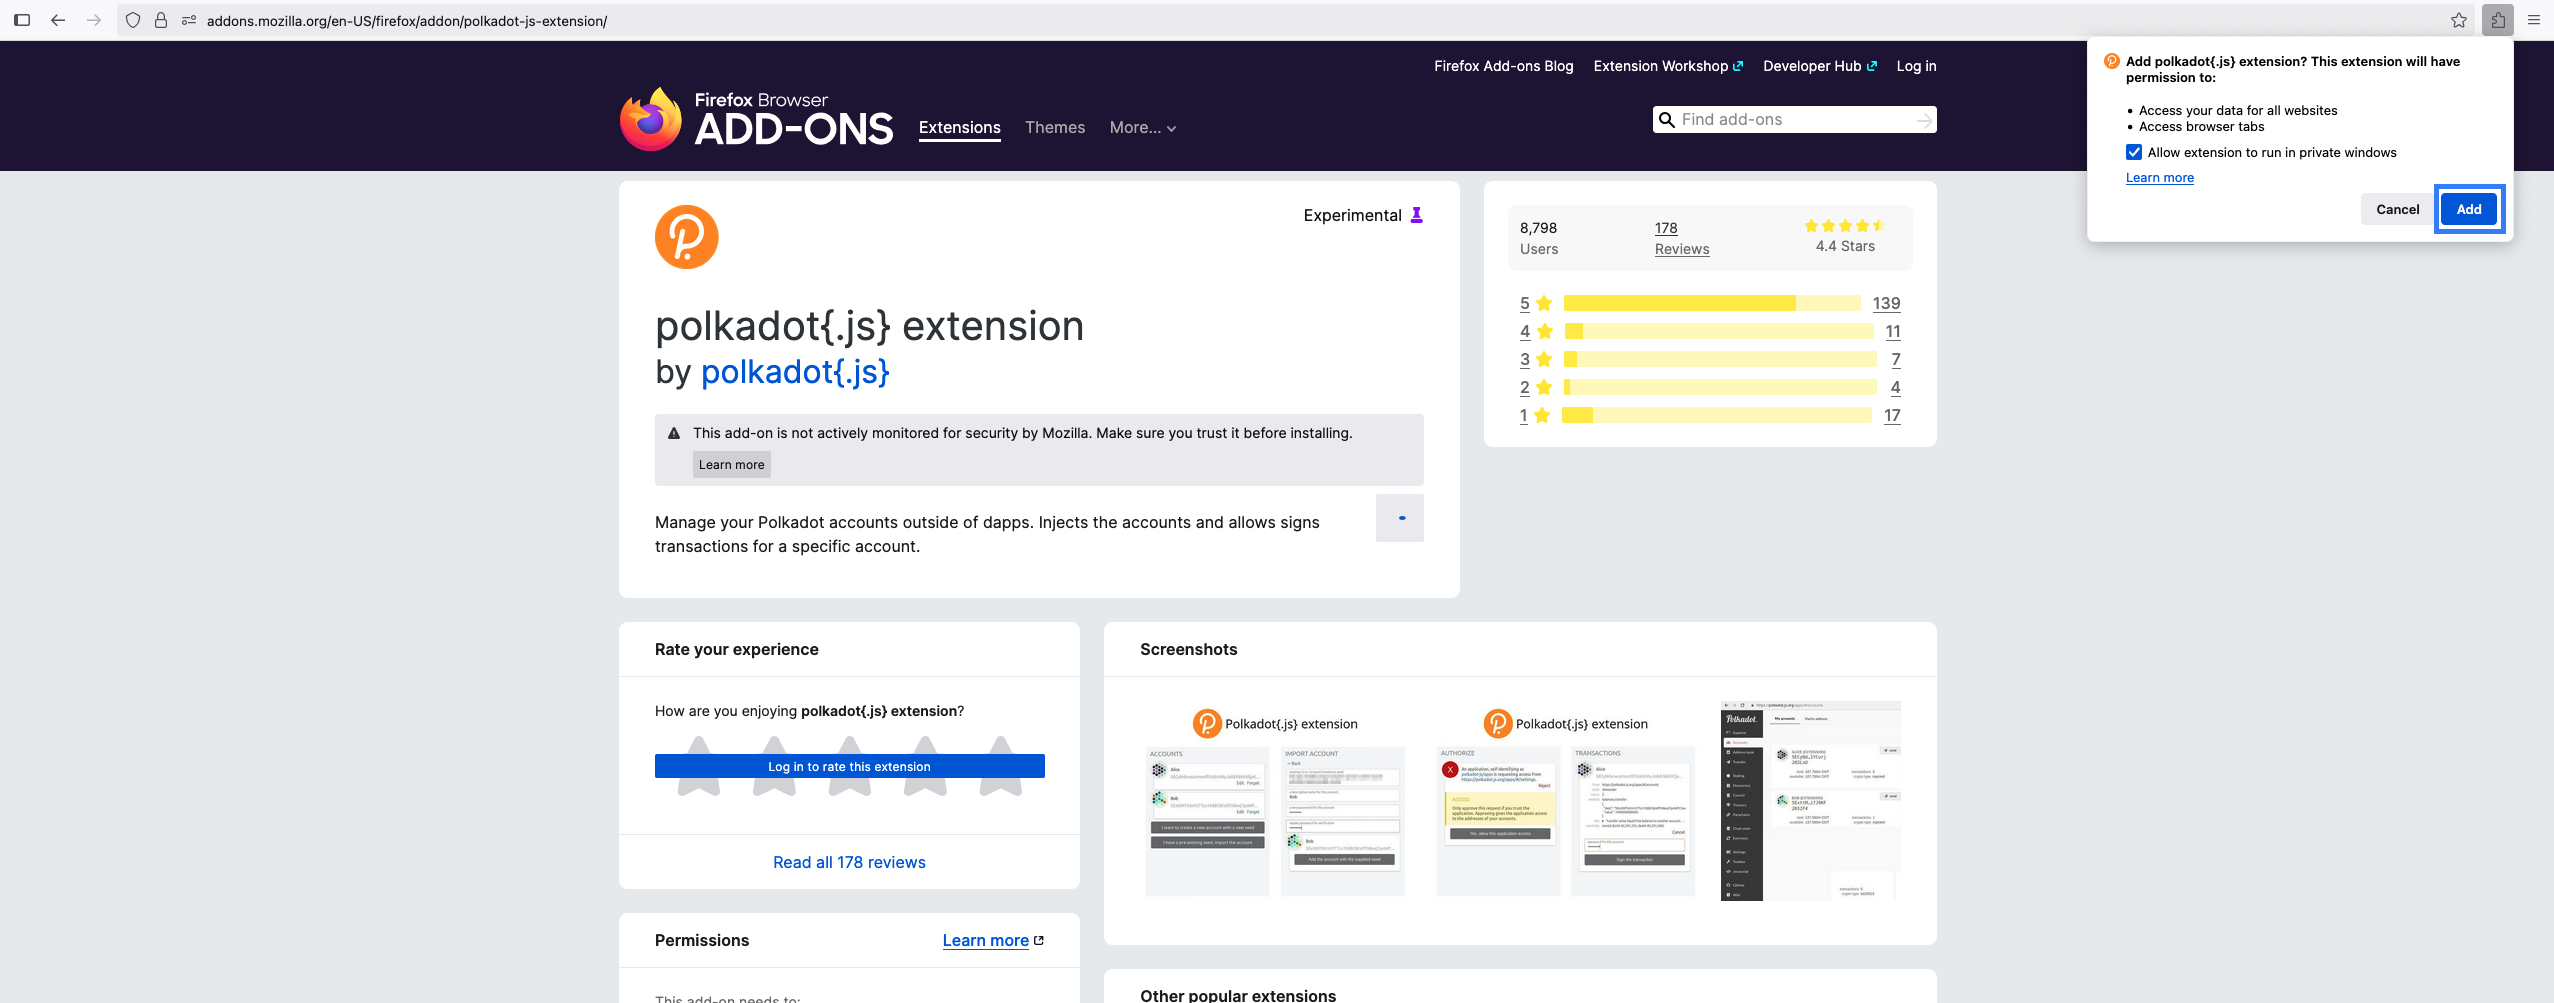
Click "Add to Firefox"
-
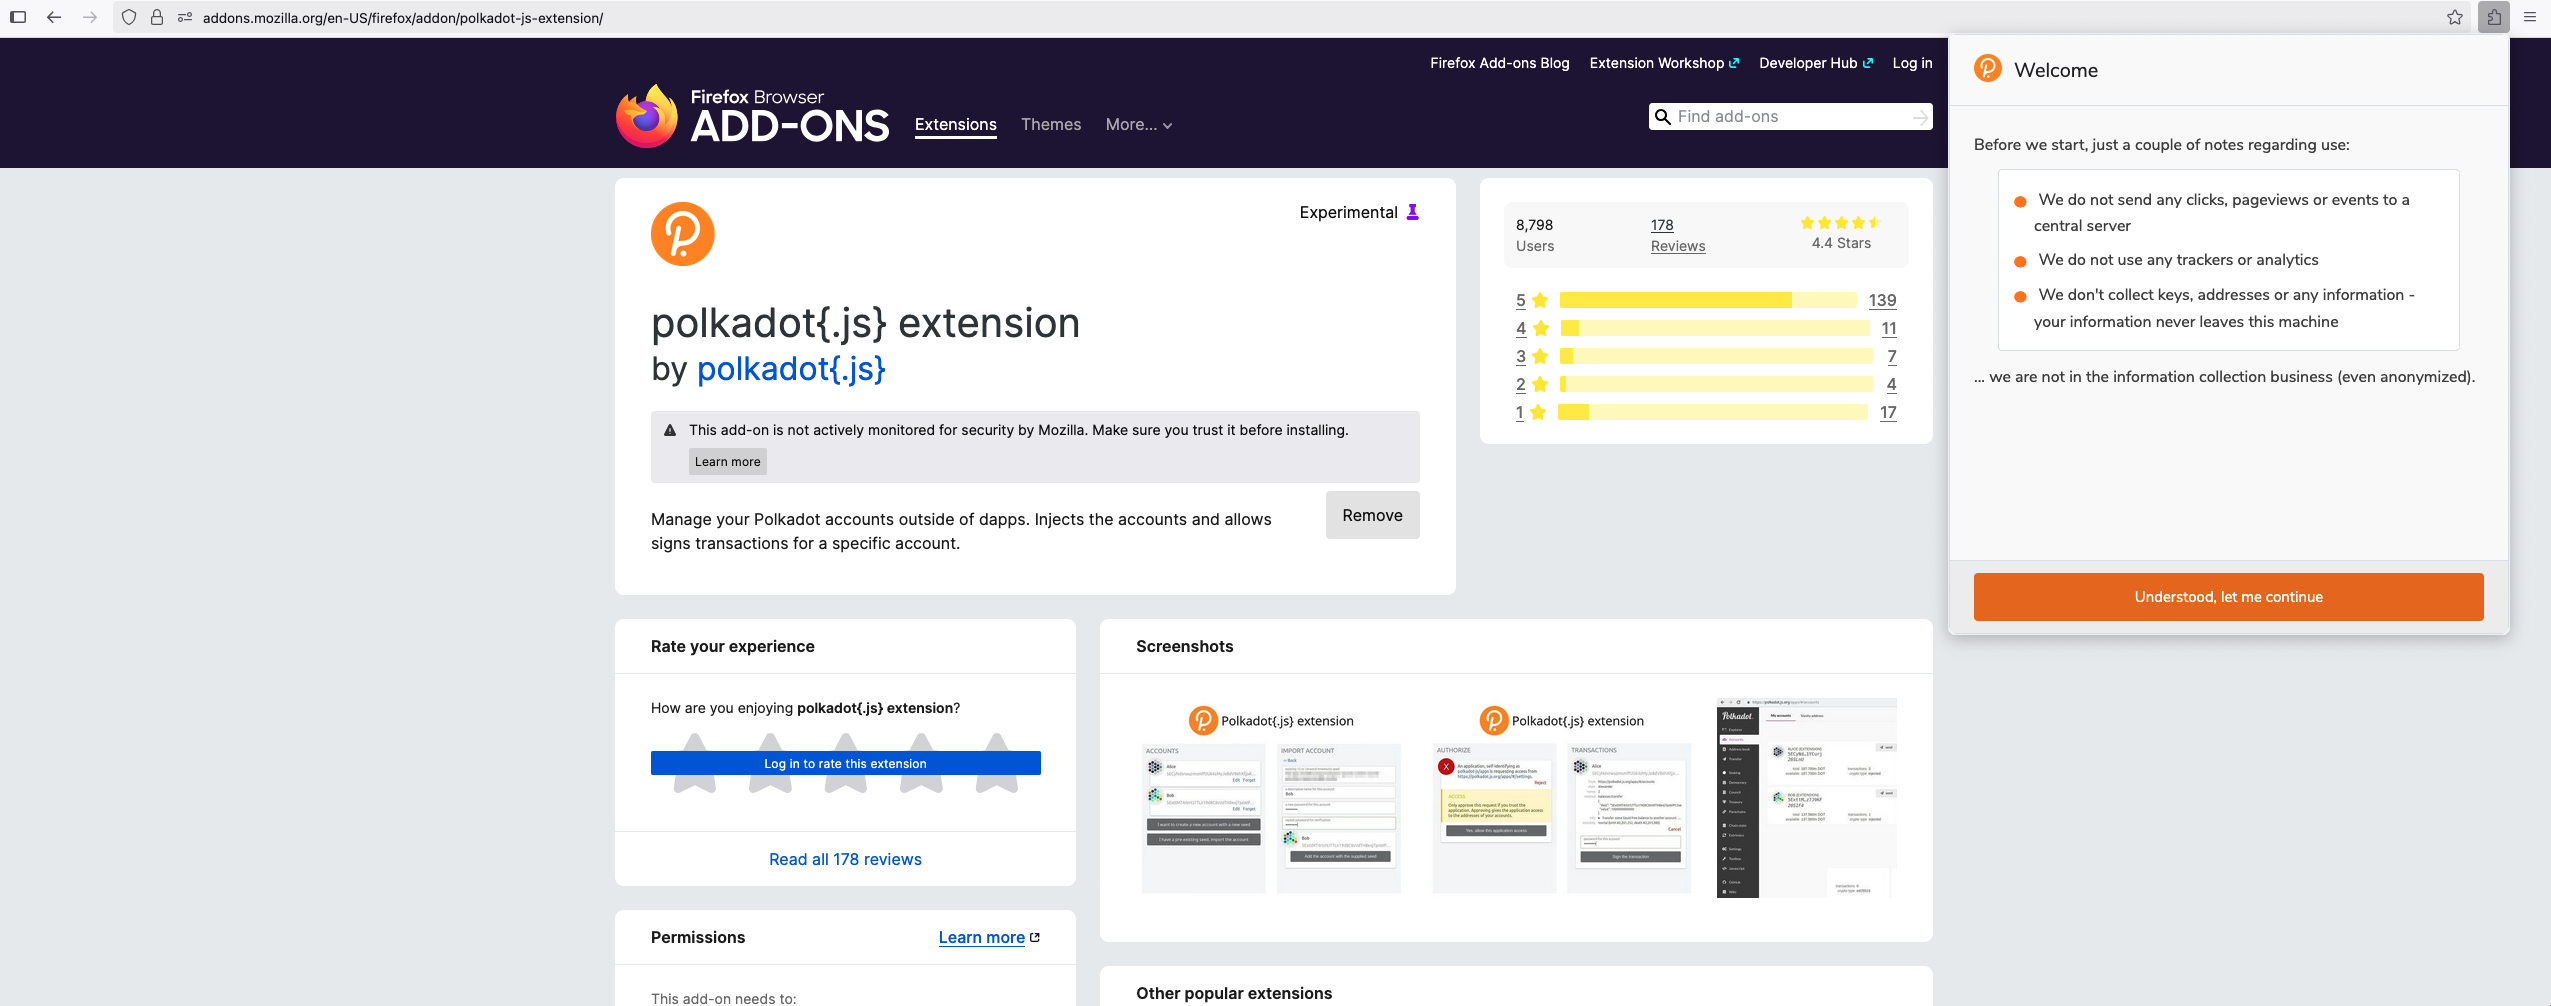
Confirm installation
-
Access via Firefox toolbar
Setting Up Your First Account
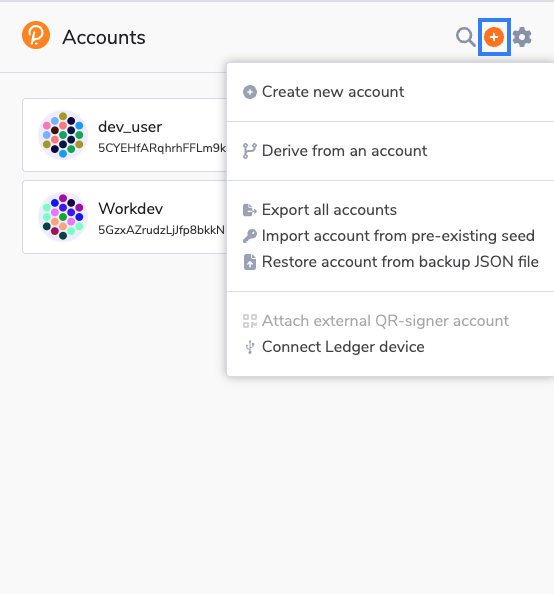
Creating a New Account
-
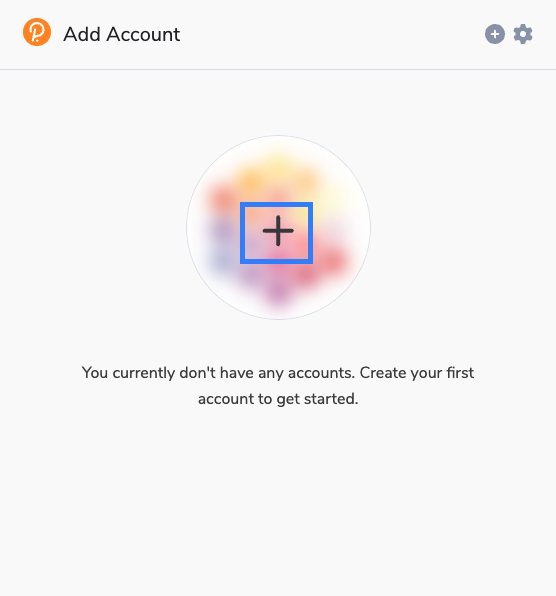
Click the Polkadot.js extension icon in your browser toolbar
-
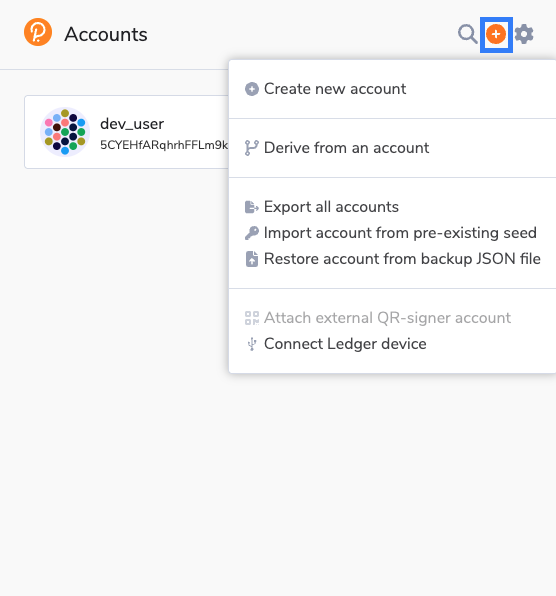
Click the "+" button to create a new account
-
Choose "Create new account"
Seed Phrase Generation
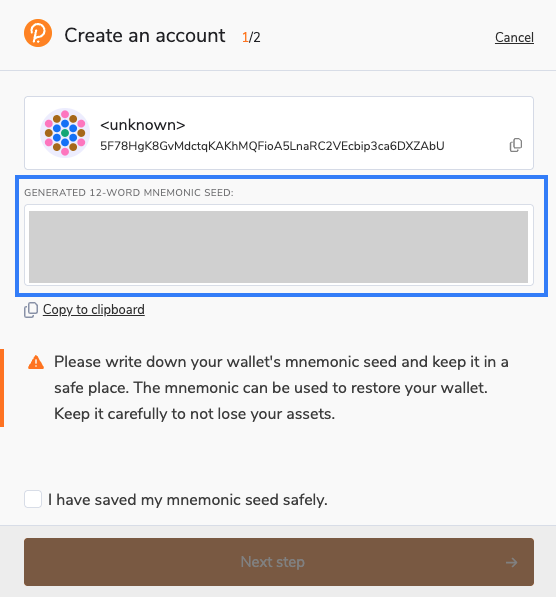
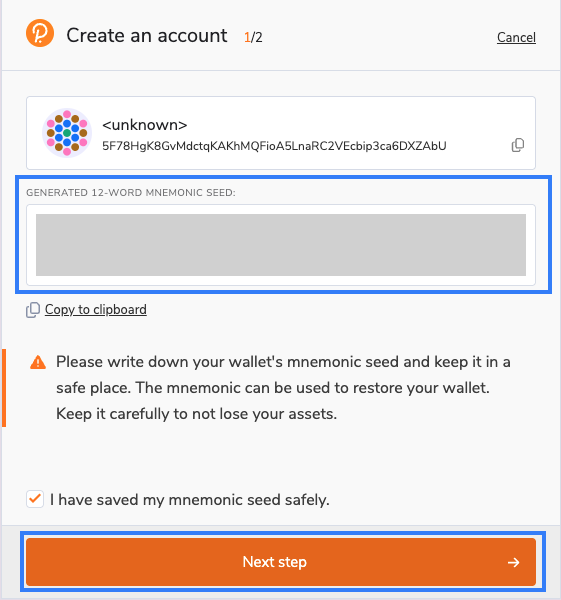
Important: Your seed phrase is your master key. Keep it secure!
-
Review your 12-word seed phrase
-
Write it down on paper - never store digitally
-
Verify the seed phrase by entering it correctly
-
Click "Next step"
Security Best Practices:
- Save seed phrase
- Store in a secure, fireproof location
- Consider using multiple copies in different locations
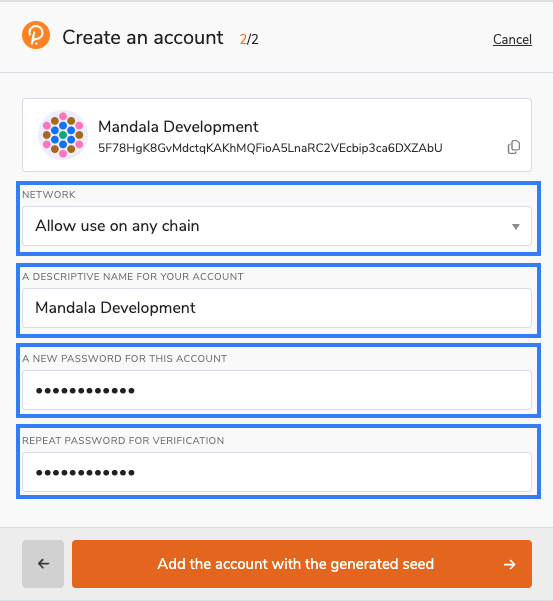
Account Configuration
Account Details:
-
Account Name - Choose a descriptive name (e.g., "Mandala Development")
-
Password - Secure password for local encryption
-
Network - Select "Allow use on any chain"
Advanced Options:
- Derivation Path - Leave default unless you need custom derivation
- Keypair Type - Select "sr25519" (recommended for Substrate)
Confirming Account Creation
-
Review account details
-
Confirm password
-
Click "Add the account with the generated seed"
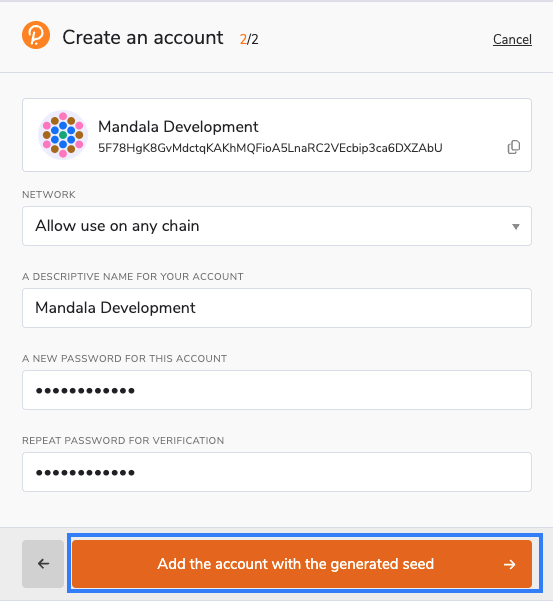
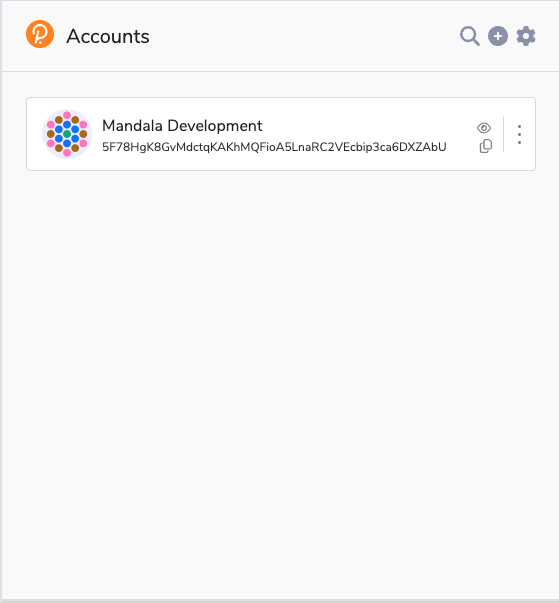
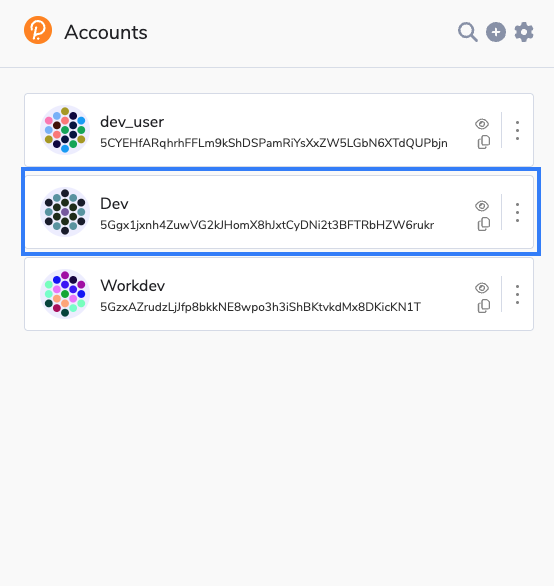
Your account is now created and ready to use!
Account Address Formats
Polkadot addresses use different formats for different networks:
Universal Format (Substrate):
5GrwvaEF5zXb26Fz9rcQpDWS57CtERHpNehXCPcNoHGKutQY
Polkadot Format:
15oF4uVJwmo4TdGW7VfQxNLavjCXviqxT9S1MgbjMNHr6Sp5
The extension automatically converts addresses based on the connected network.
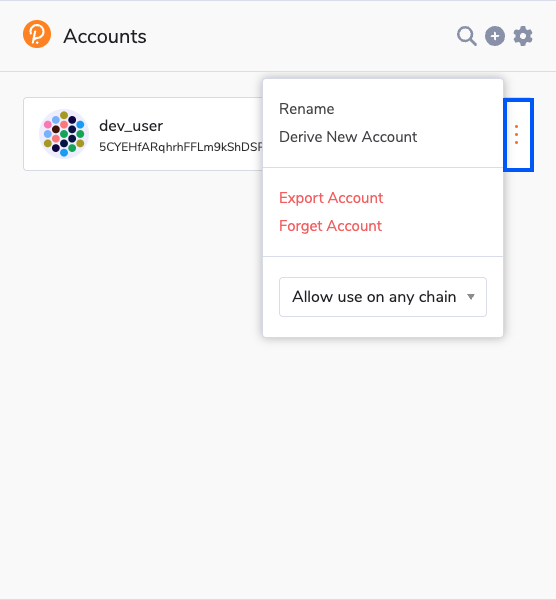
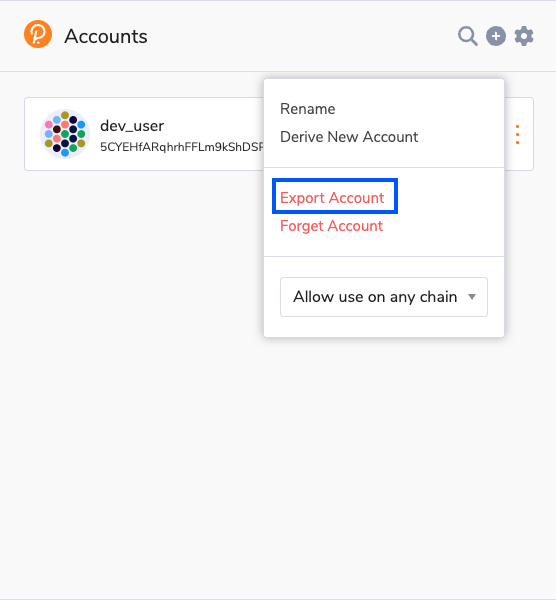
Exporting Accounts
Export Options:
1. Backup JSON File:
-
Click the account's "..." menu
-
Select "Export Account"
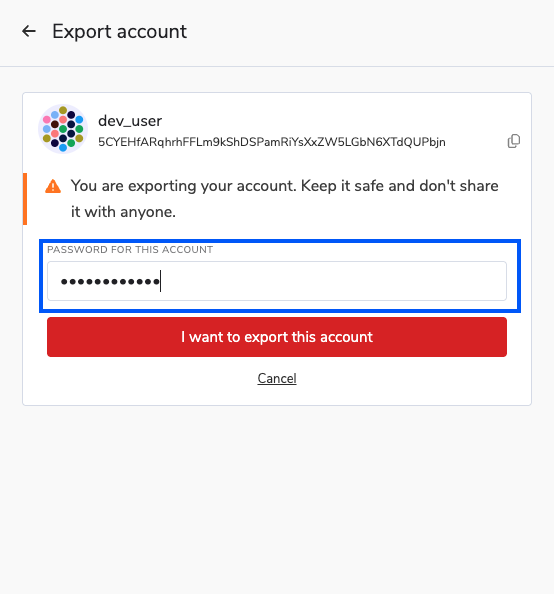
-
Enter your password
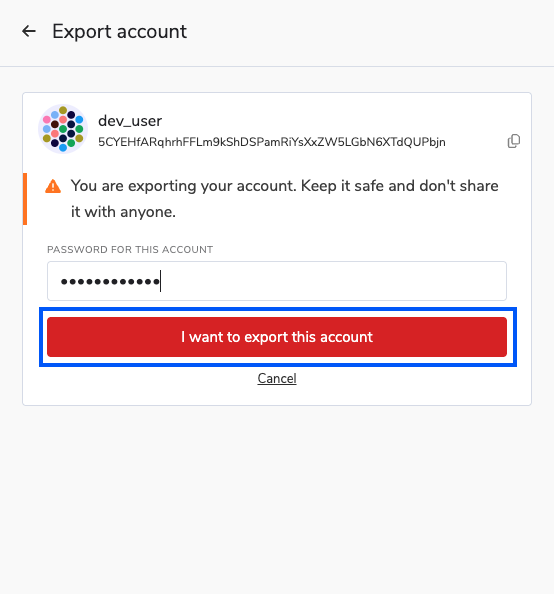
-
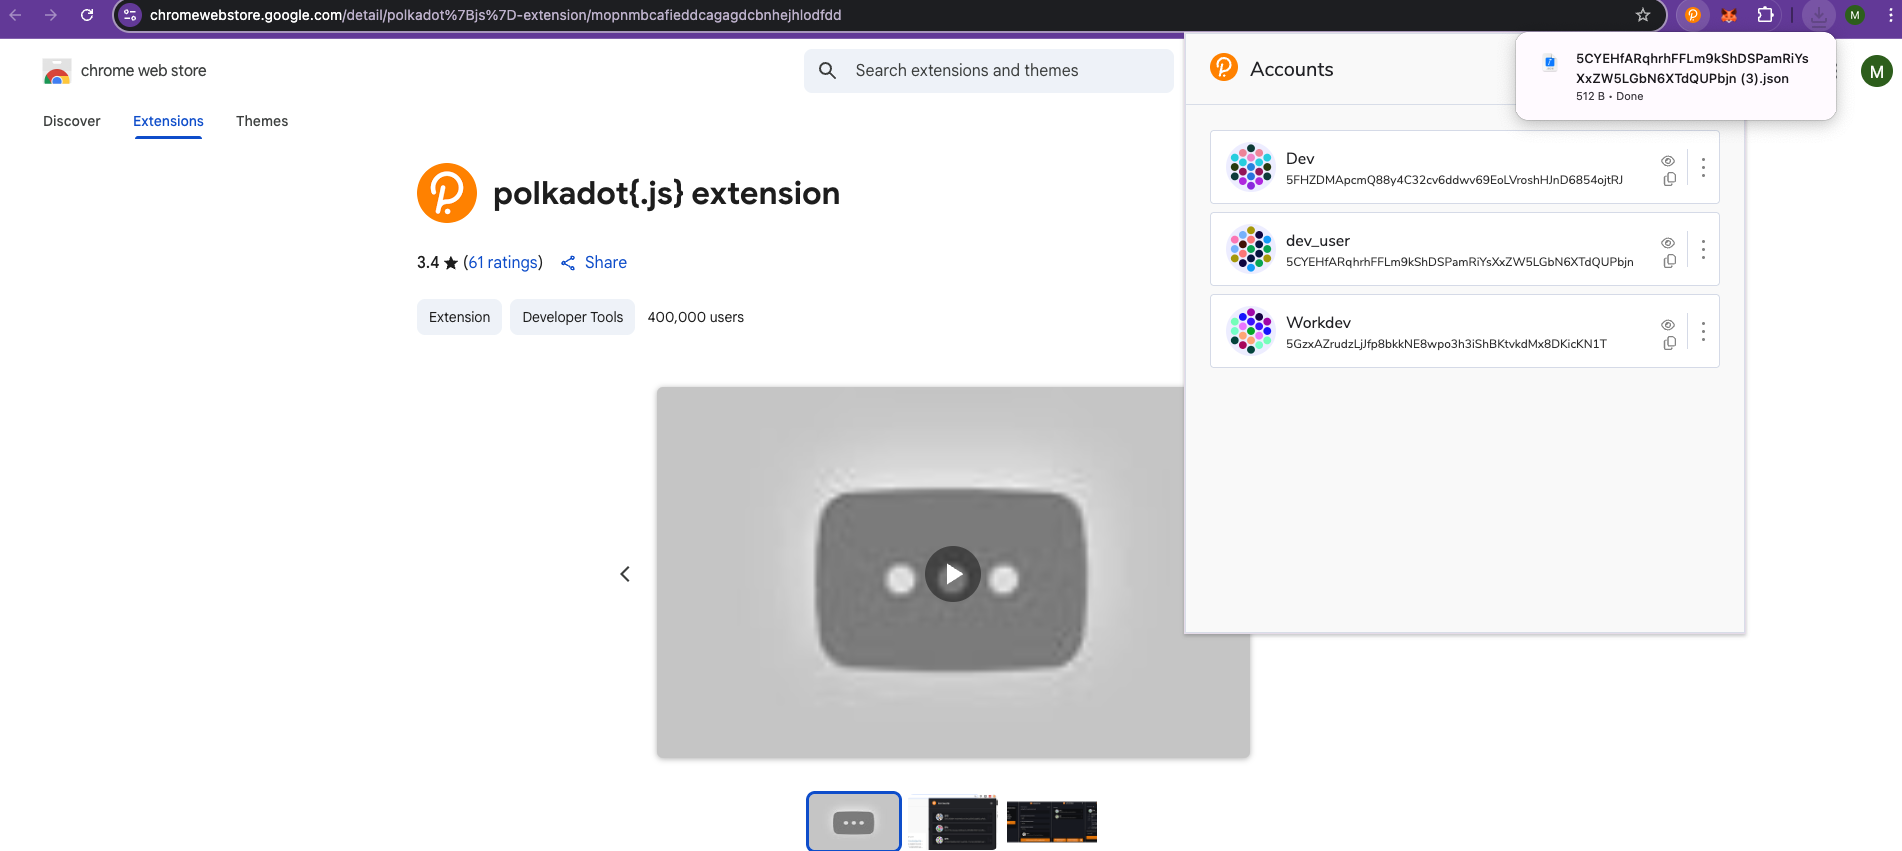
Save the JSON file securely
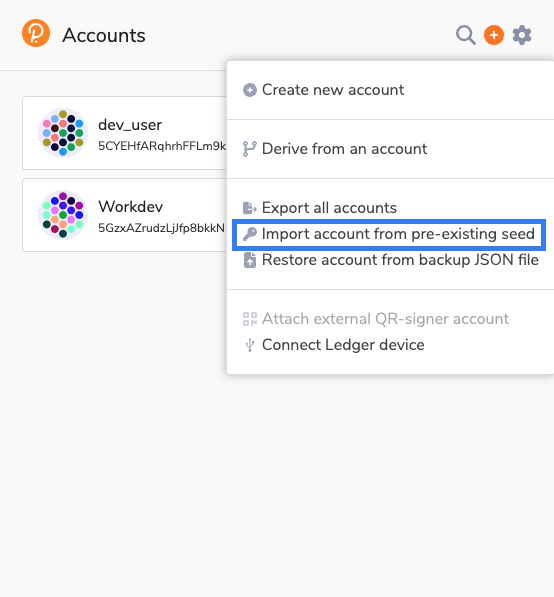
Importing Existing Accounts
From Seed Phrase
-
Click "+" in extension
-
Select "Import account from pre-existing seed"
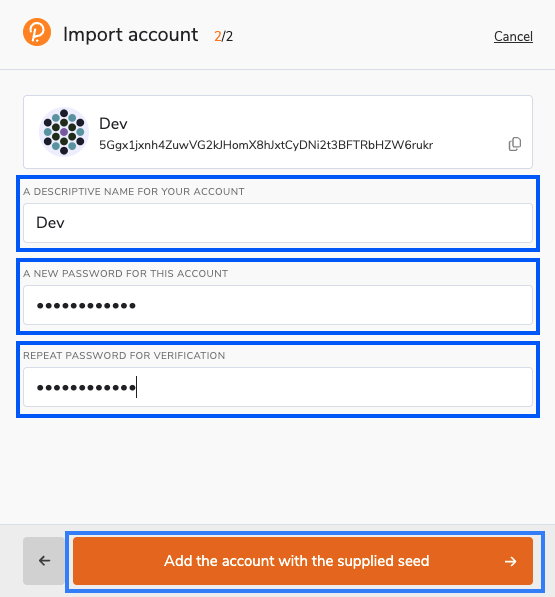
-
Enter your 12/24-word seed phrase

-
Configure account settings
-
Set password and create account
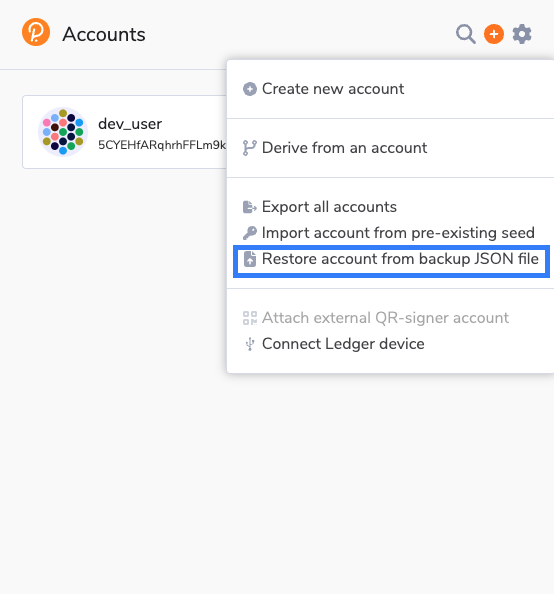
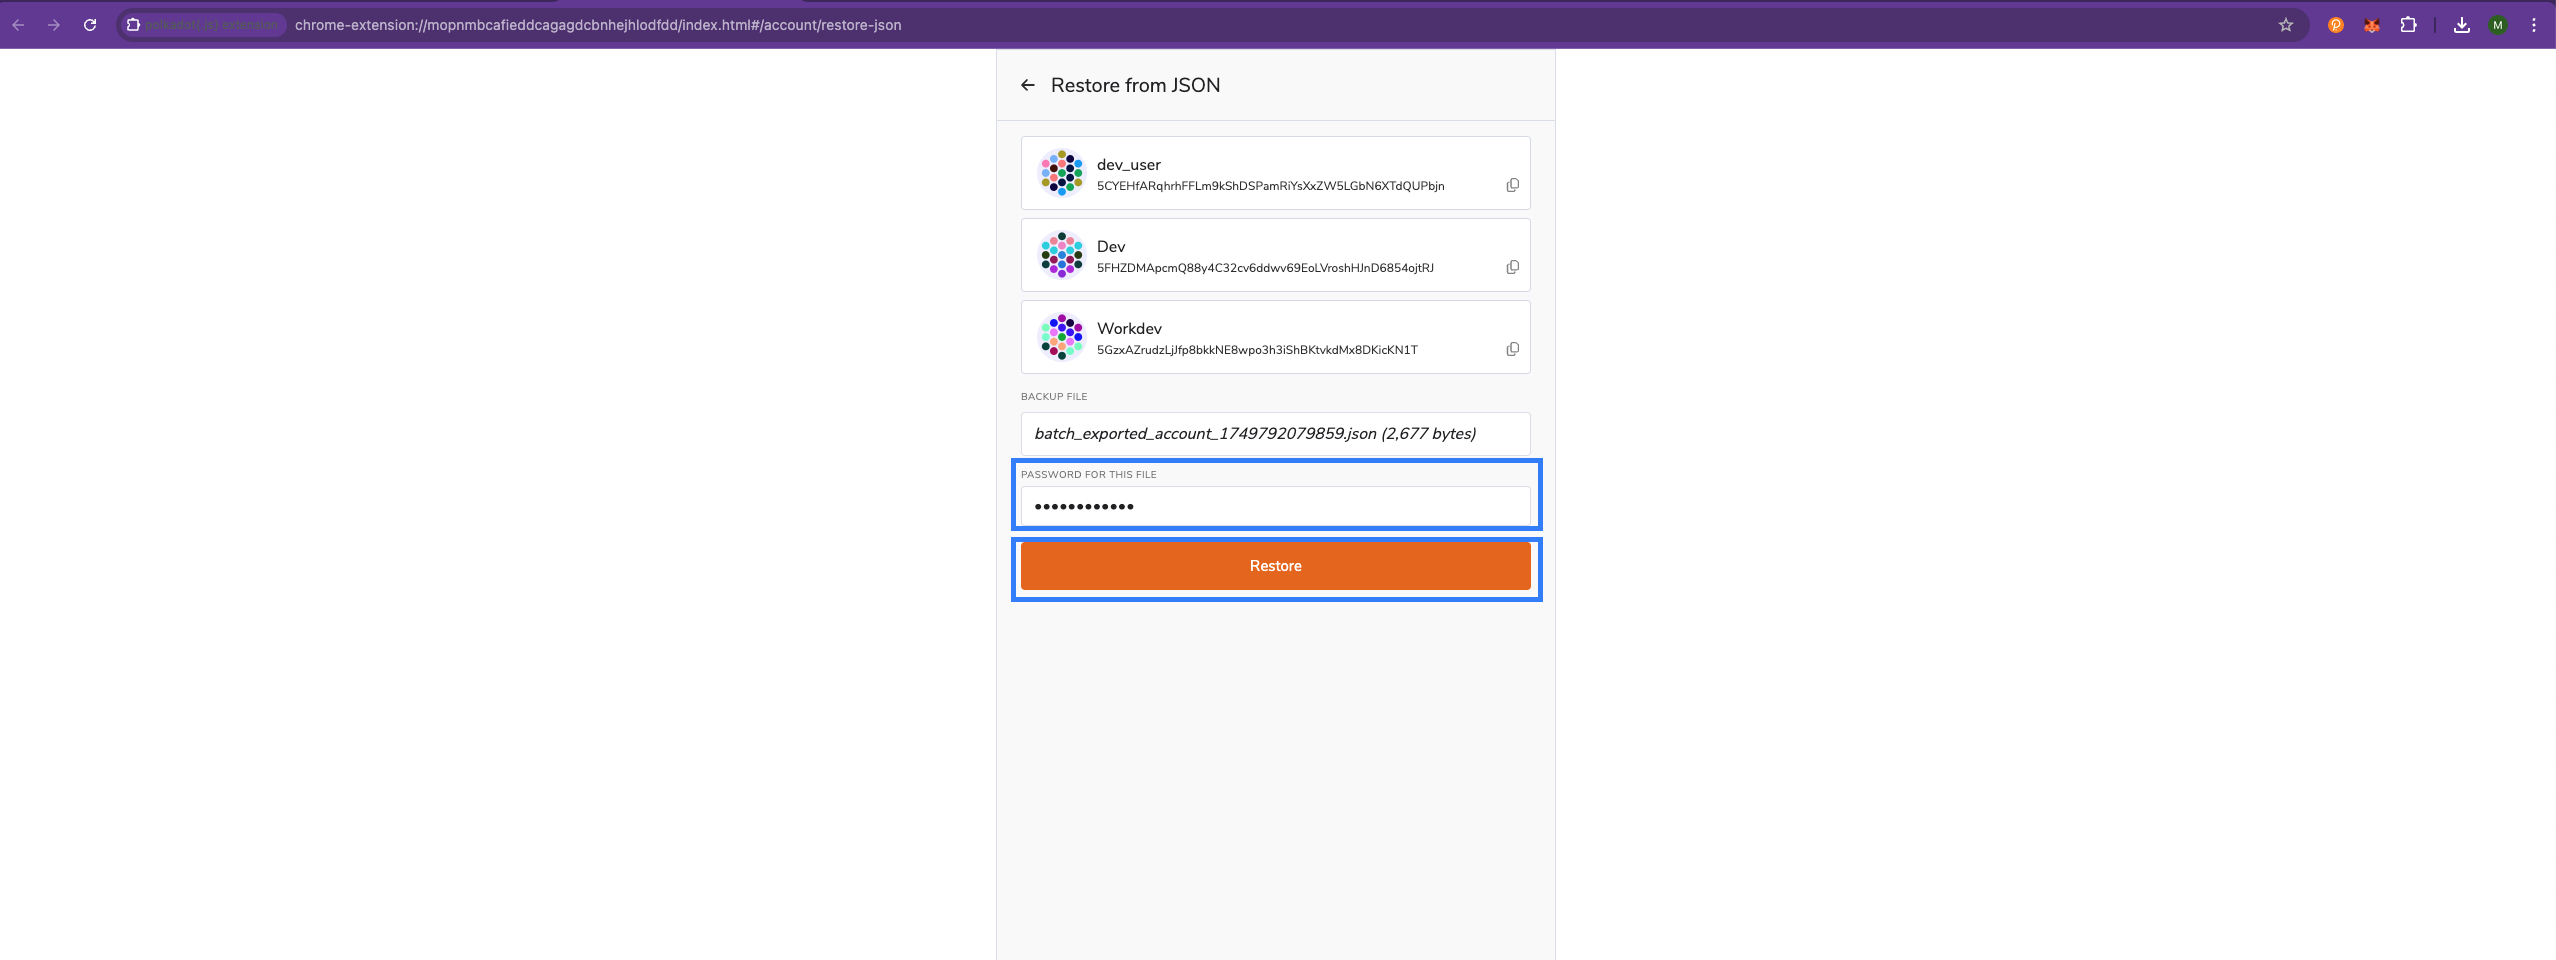
From JSON Backup
-
Click "+" in extension
-
Select "Restore account from backup JSON file"
-
Upload your JSON file
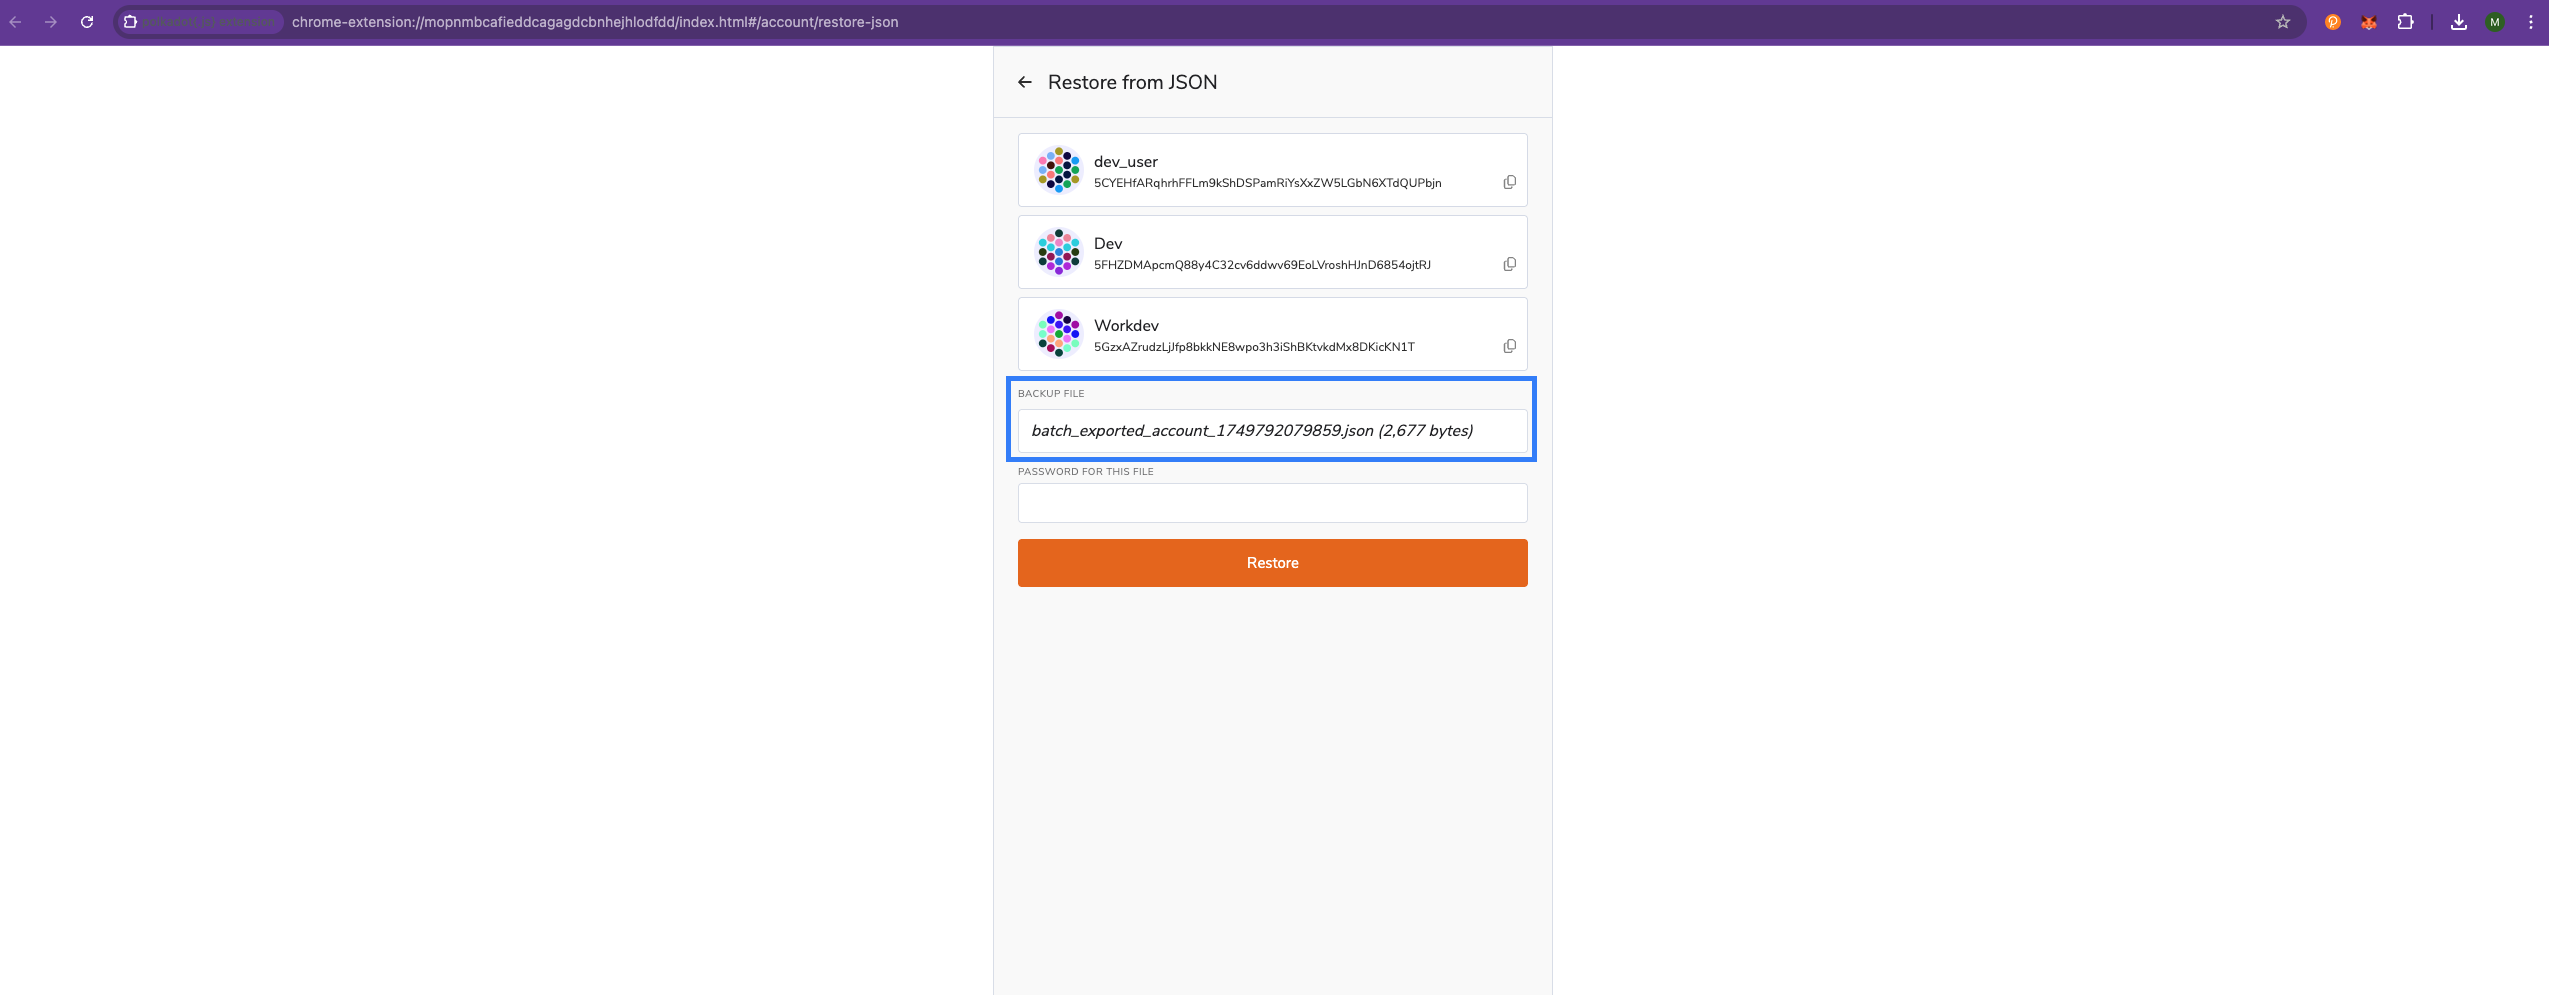
-
Enter the password to unlock the JSON file
Connecting to Mandala Testnet
Verifying Network Connection
- Open Polkadot.js Apps:
https://polkadot.js.org/apps/?rpc=wss%3A%2F%2Frpc1.paseo.mandalachain.io - Navigate to Accounts tab
- Your extension accounts should appear automatically
Account Authorization
When connecting to a new website:
- Extension popup will request permission
- Review the website URL carefully
- Select accounts to authorize
- Click "Yes, allow this application access"
Security Note: Only authorize accounts for trusted websites.
Signing Transactions
Transaction Flow
When you interact with dApps or Polkadot.js Apps:
- Initiate transaction in the application
- Extension popup appears with transaction details
- Review transaction carefully
- Enter password to authorize
- Click "Sign the transaction"
Next Steps
With your Polkadot.js account configured:
- Set up ink! Environment - Begin smart contract development