Deploy WASM Contract
Deploy your ink! smart contract to Mandala Testnet using Polkadot.js Apps interface and learn how to interact with deployed contracts.
Overview
This guide covers the complete deployment process for ink! contracts on Mandala Testnet, from uploading contract code to instantiating and interacting with your deployed contract.
Prerequisites
Before deploying, ensure you have:
- Built Flipper contract (Build Flipper Contract)
- Polkadot.js account with test tokens (Create Polkadot.js Account)
Contract Deployment Process
Understanding the Two-Step Process
ink! contract deployment involves two steps:
- Upload Code - Store the WASM code on-chain (code hash)
- Instantiate Contract - Create a contract instance with specific parameters
This separation allows multiple contract instances to share the same code, reducing storage costs.
Step 1: Upload Contract Code
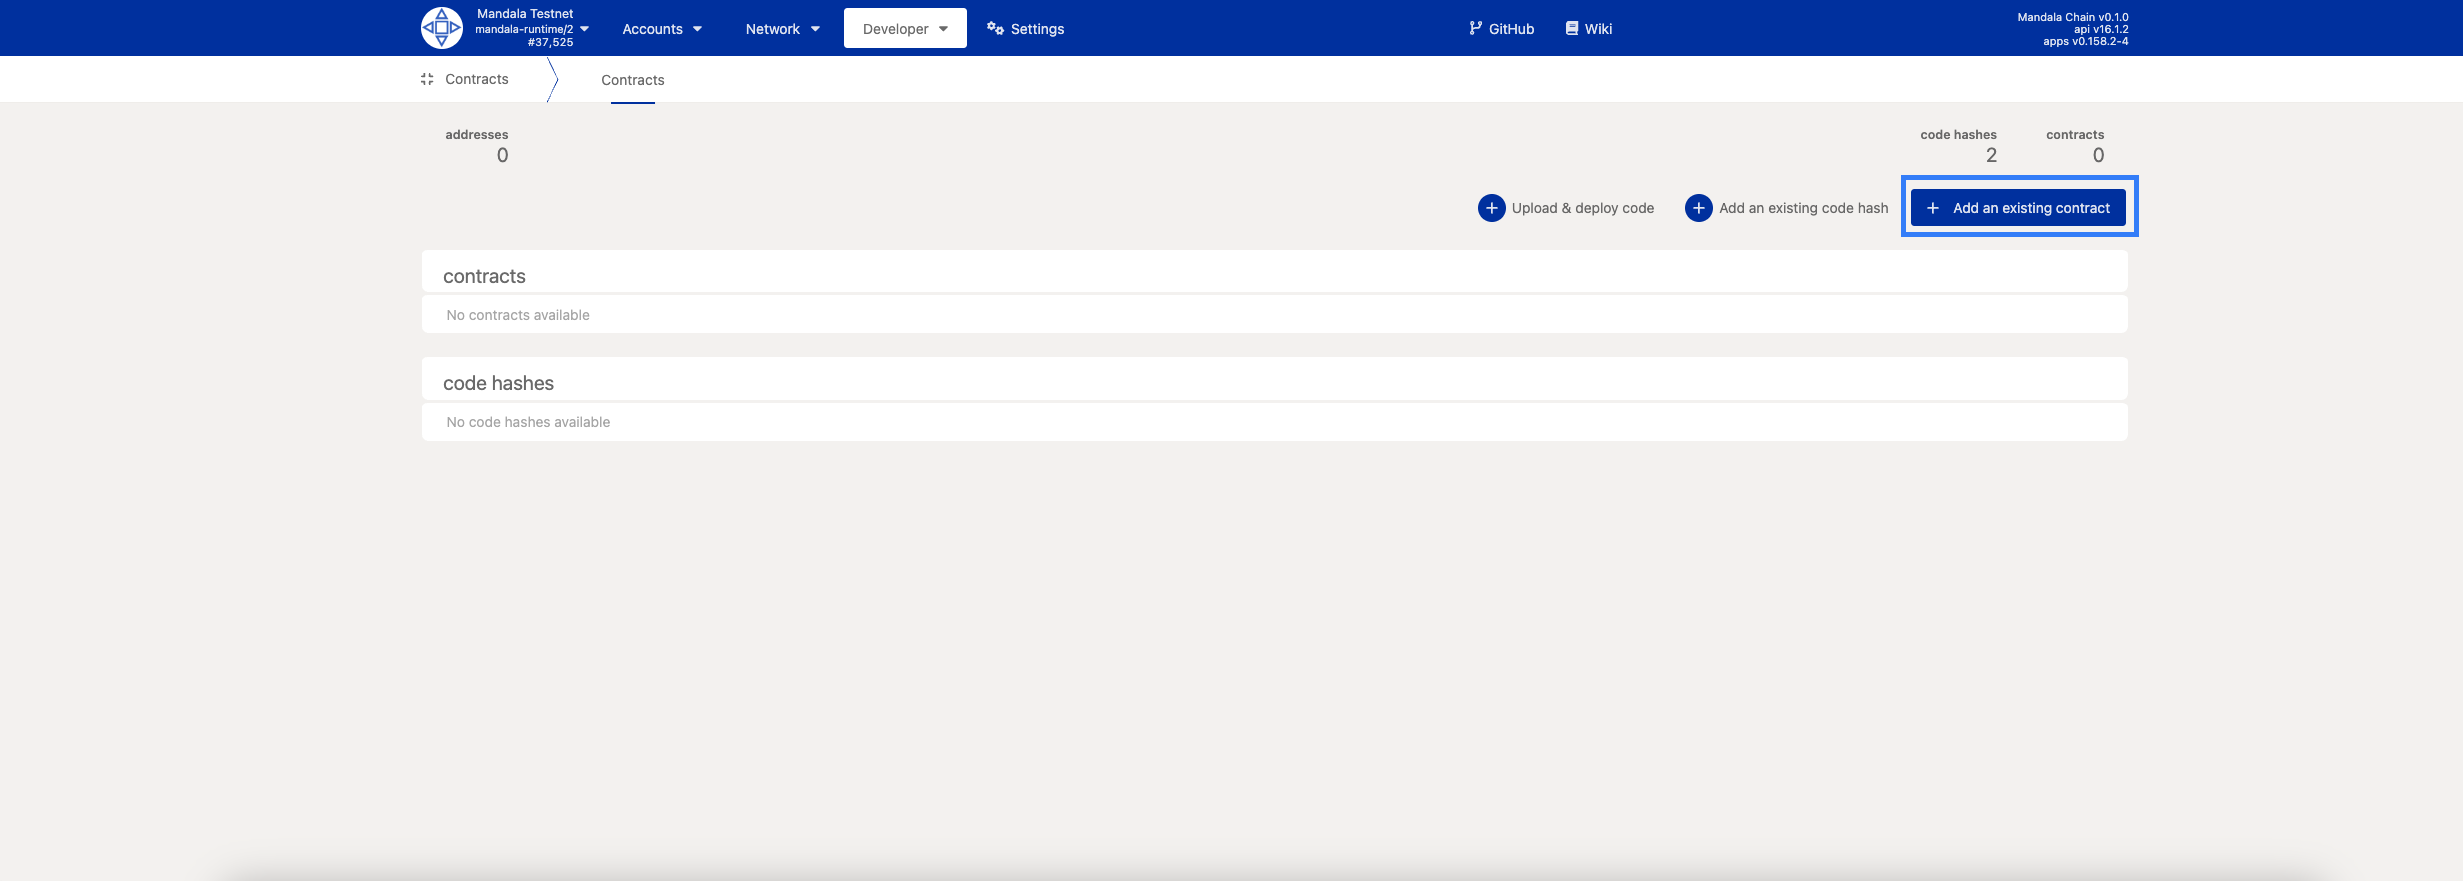
Accessing the Contracts Interface
-
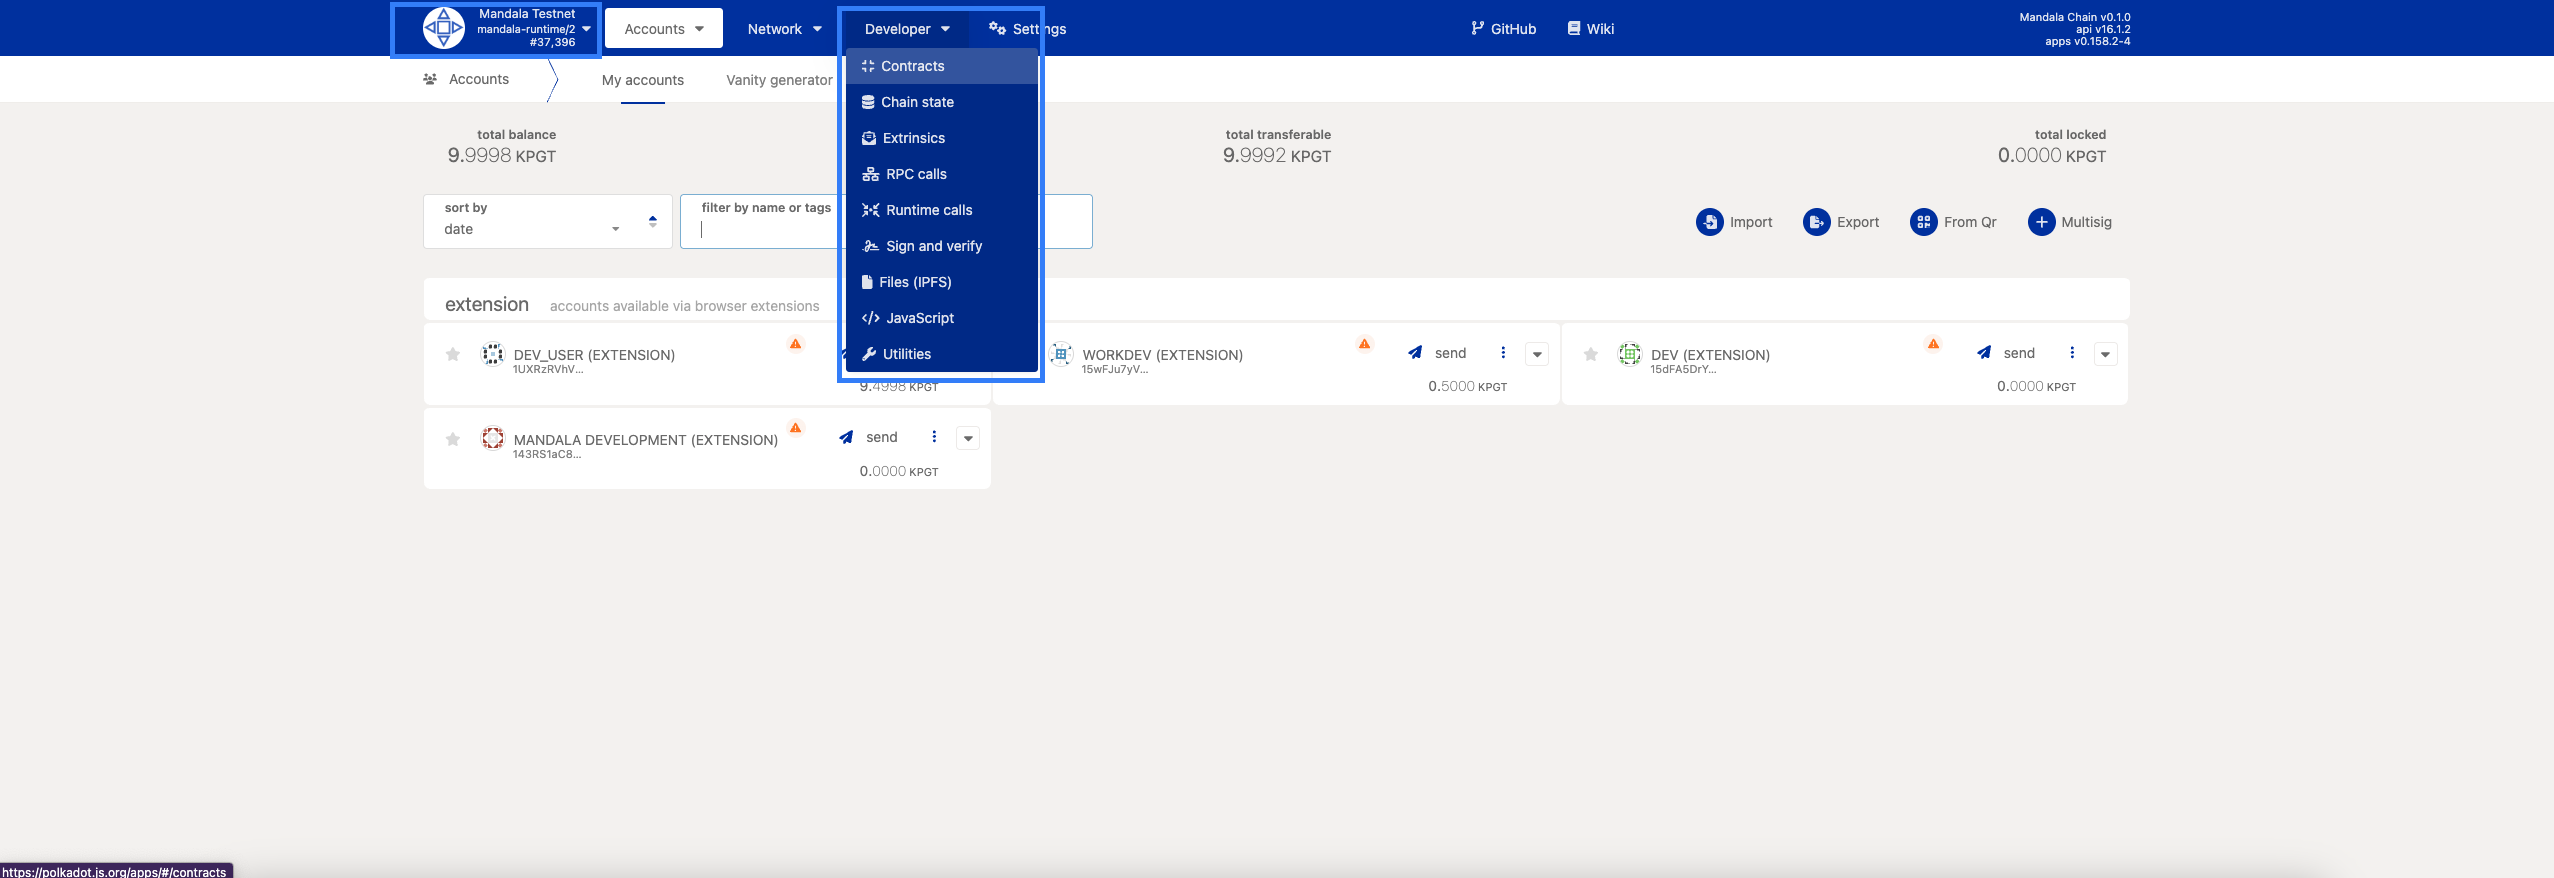
Navigate to Polkadot.js Apps:
https://polkadot.js.org/apps/?rpc=wss%3A%2F%2Frpc1.paseo.mandalachain.io#/contracts -
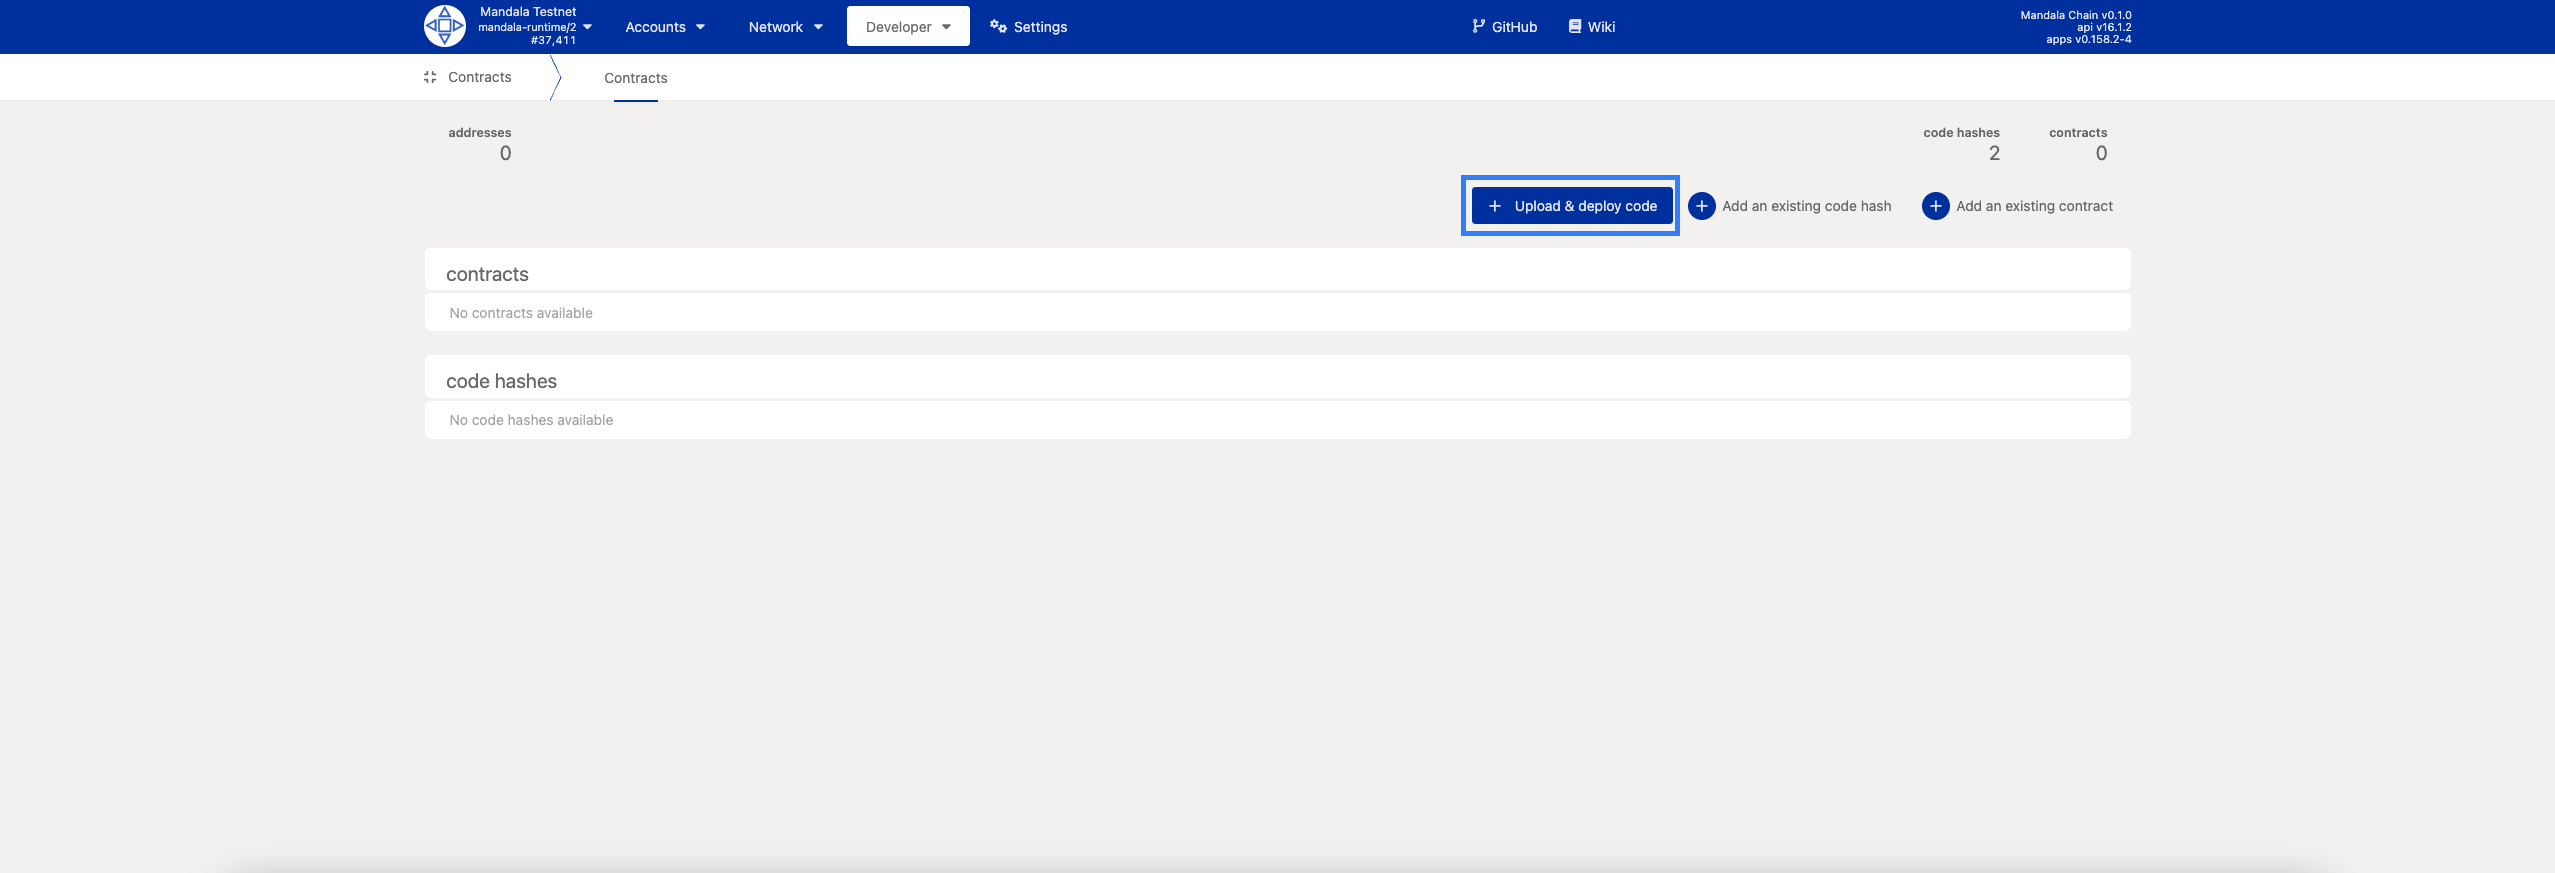
Go to Developer → Contracts
-
Verify you're connected to Mandala (check network name in top-left)
Upload Process
-
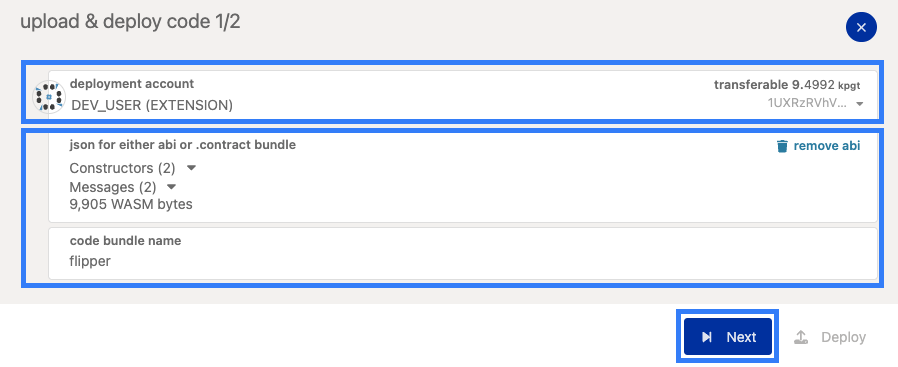
Click "Upload a new contract"
-
Select your contract files:
- Contract Bundle: Choose
flipper.contract(recommended) - Or separately: Upload
flipper.wasmandflipper.json
- Contract Bundle: Choose
-
Review contract details:
- Contract name: "flipper"
- Configure upload parameters:
- Account: Select your funded account
- Storage Deposit: Auto-calculated (usually ~1.57 nano KPGT)
-
Click "Next"
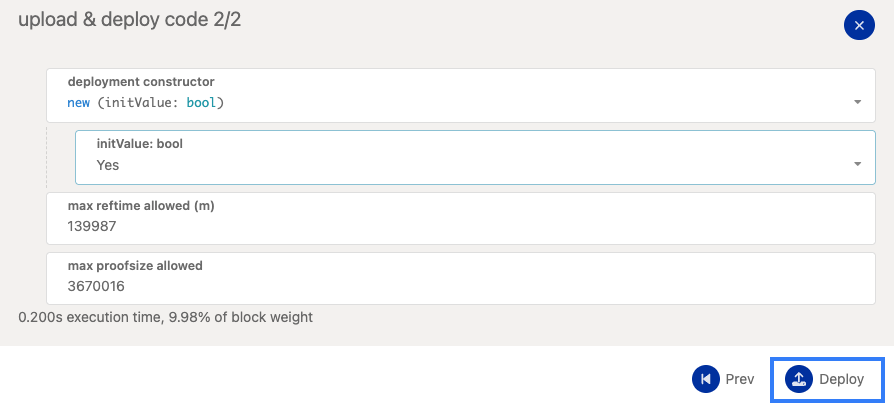
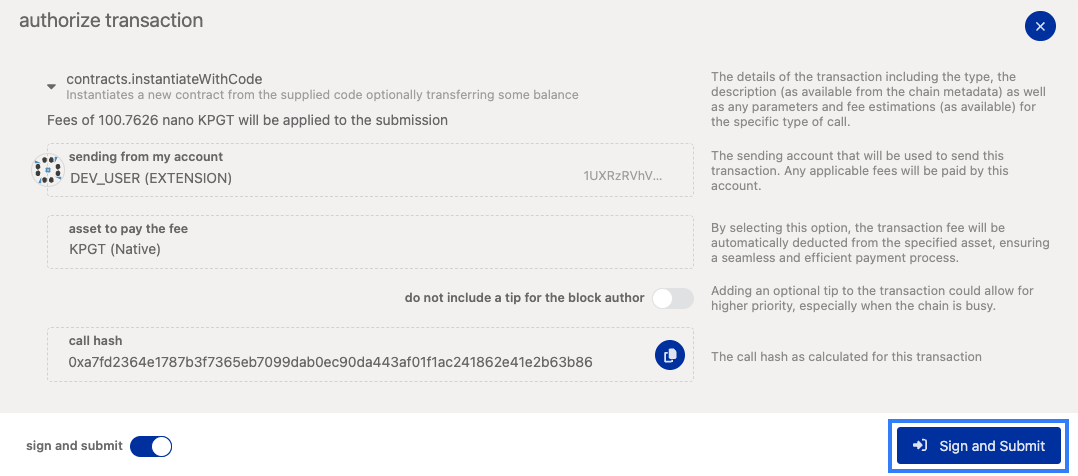
Step 2: Instantiate Contract
Starting Instantiation
-
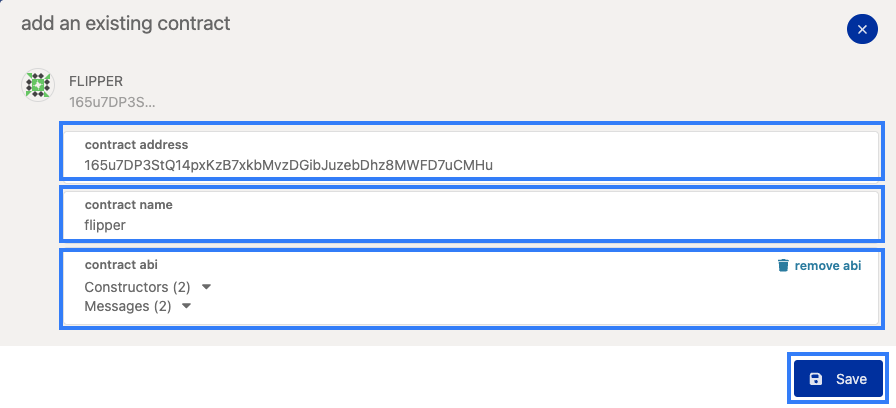
Click "Add an existing contract" or "Instantiate" next to your uploaded code
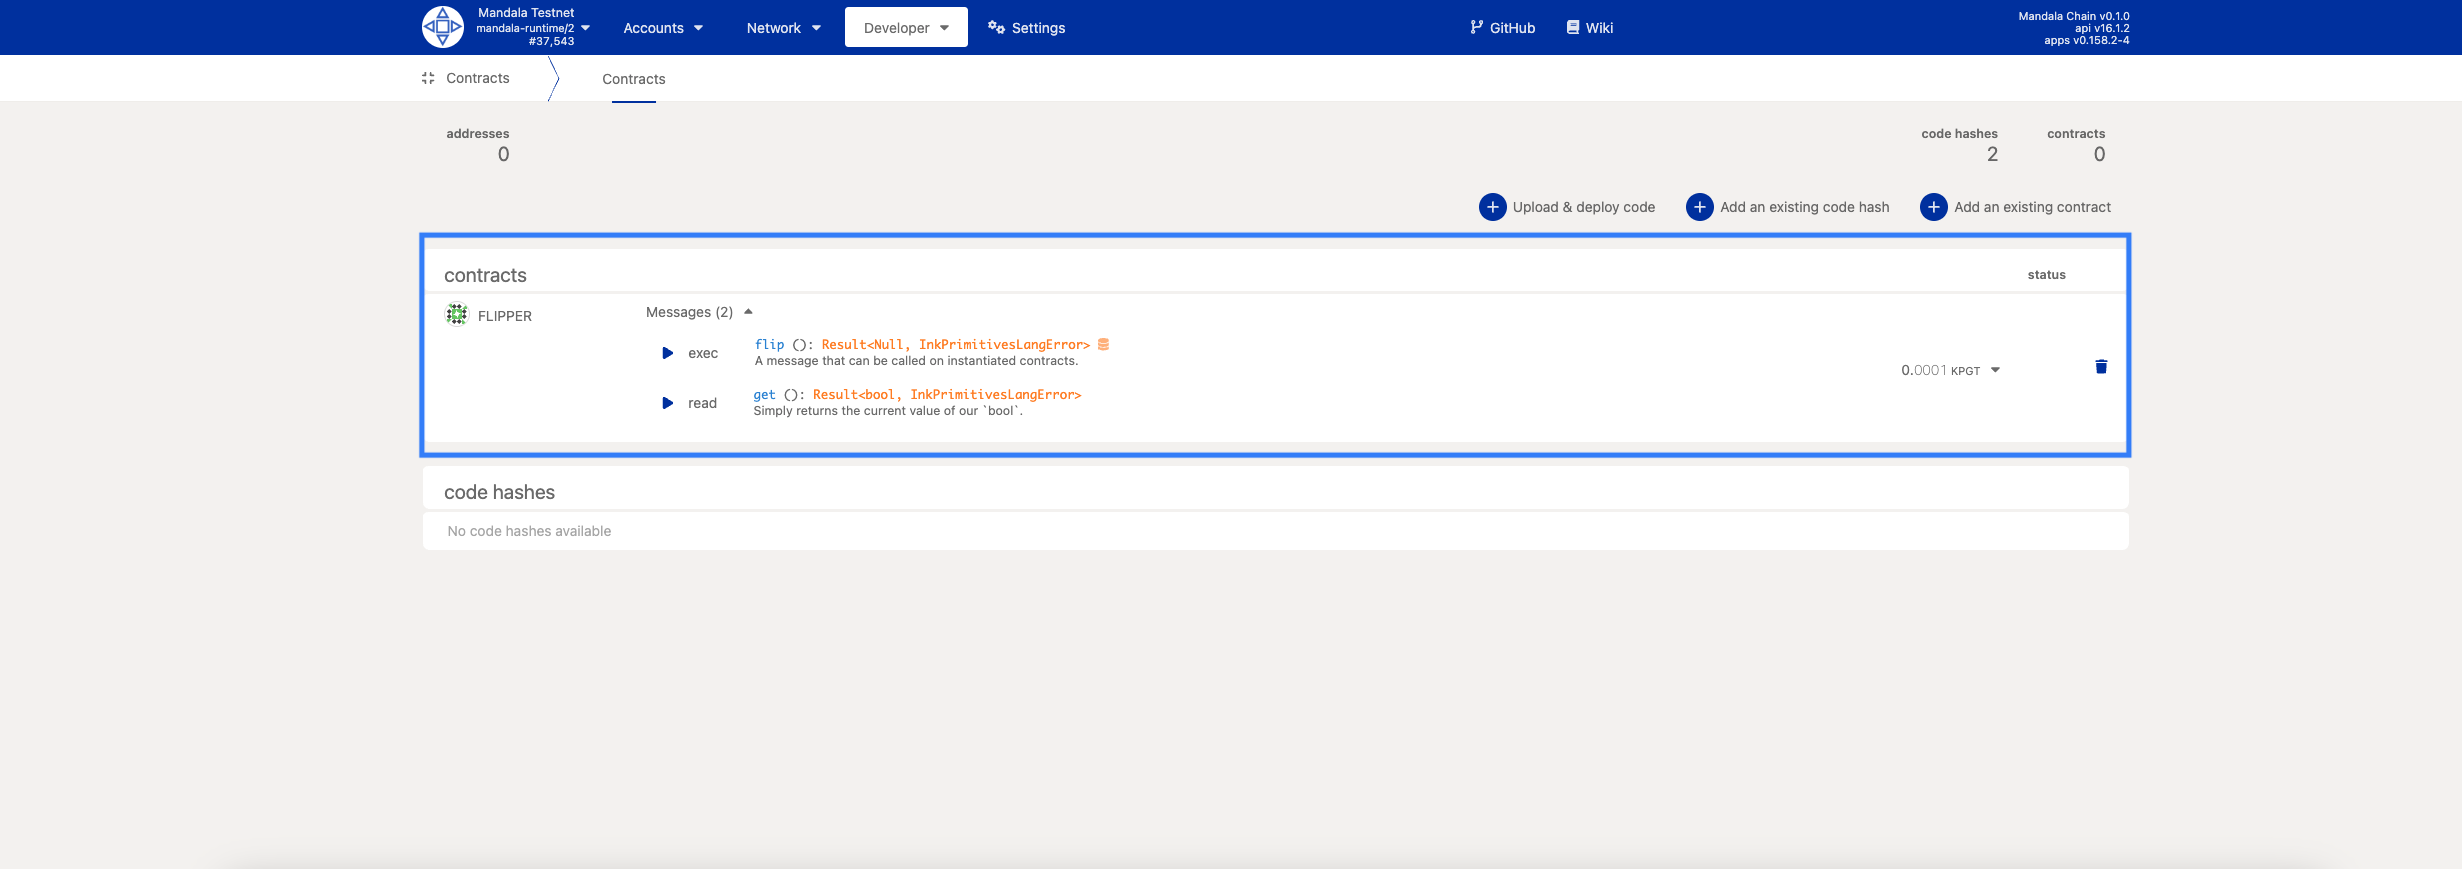
Interacting with Deployed Contract
Contract Interface
Once deployed, your contract interface shows:
Contract Information:
- Contract address
- Code hash
- Current balance
- Deployment block
Available Messages:
-
flip()- Toggle the boolean value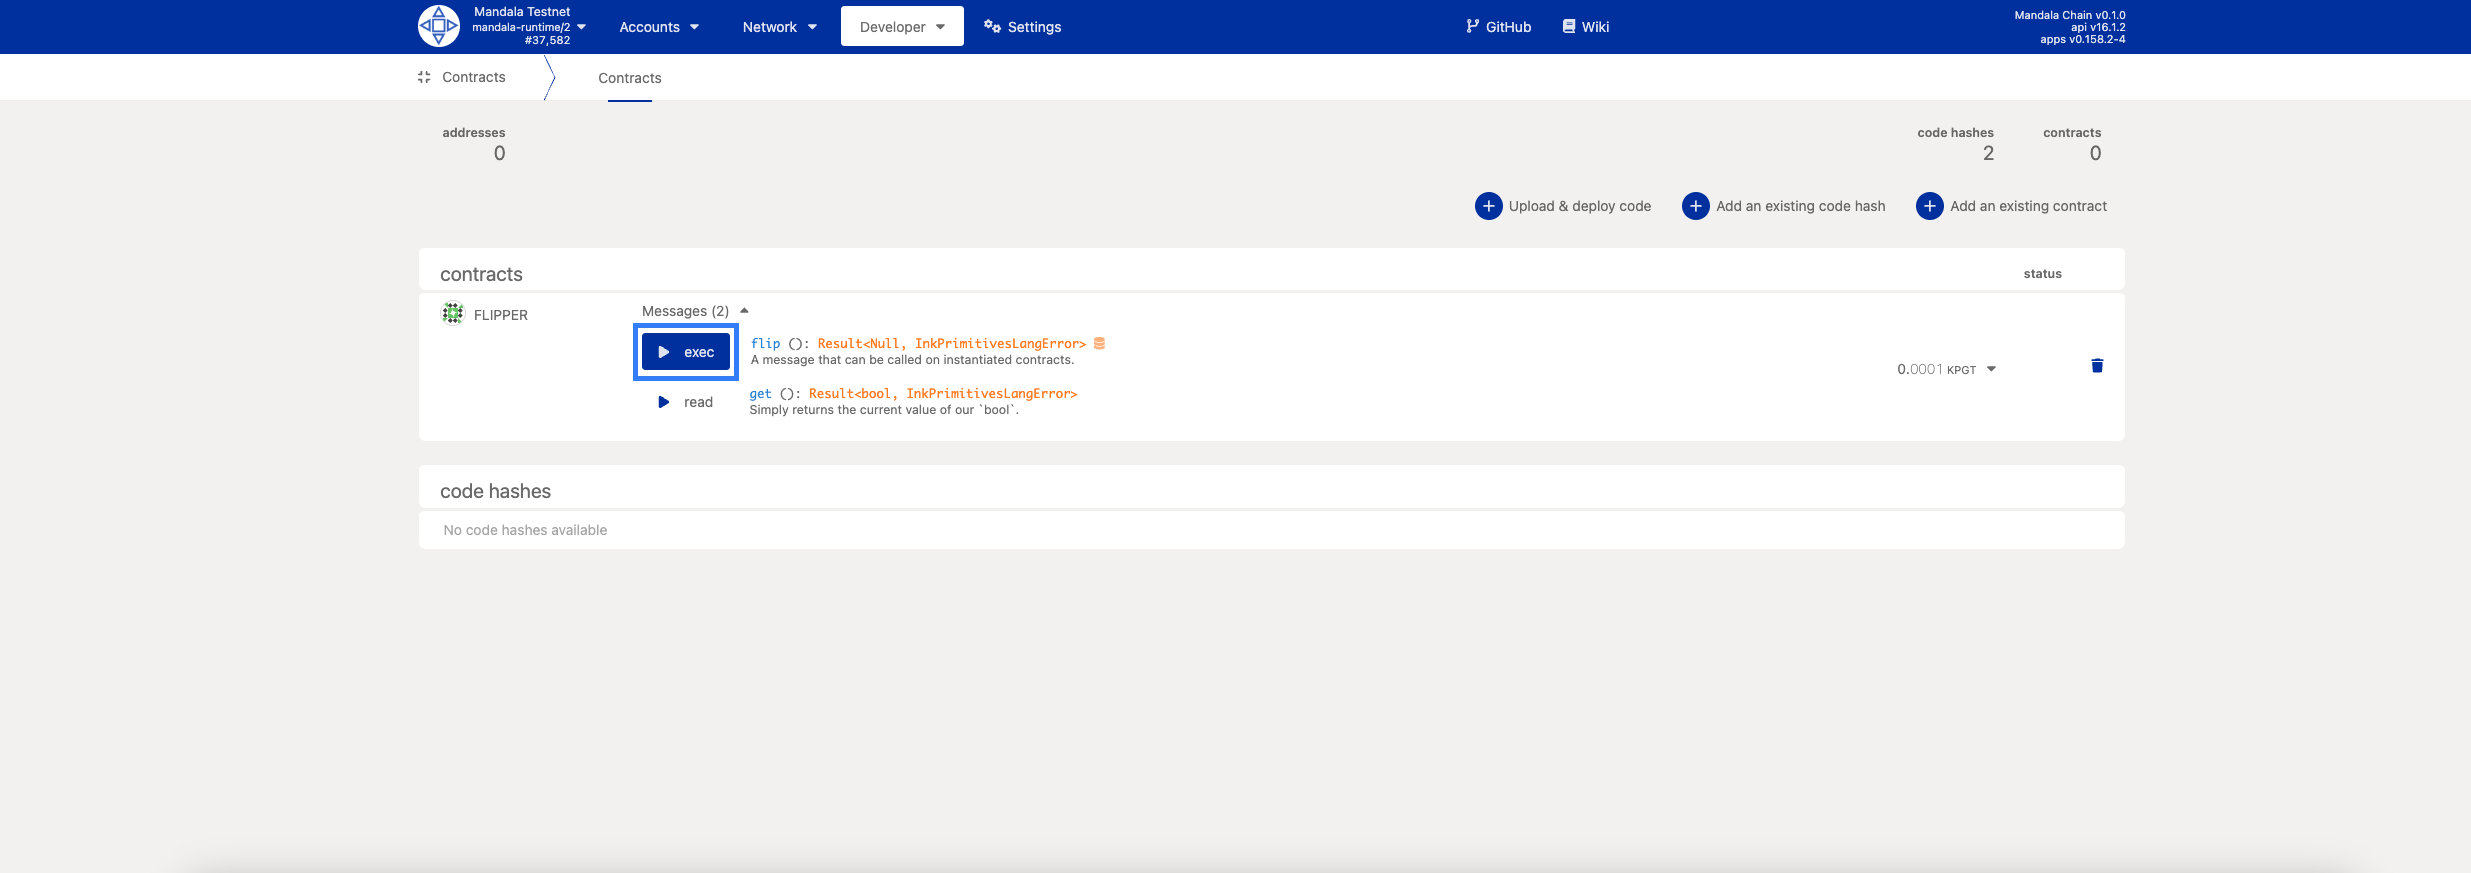
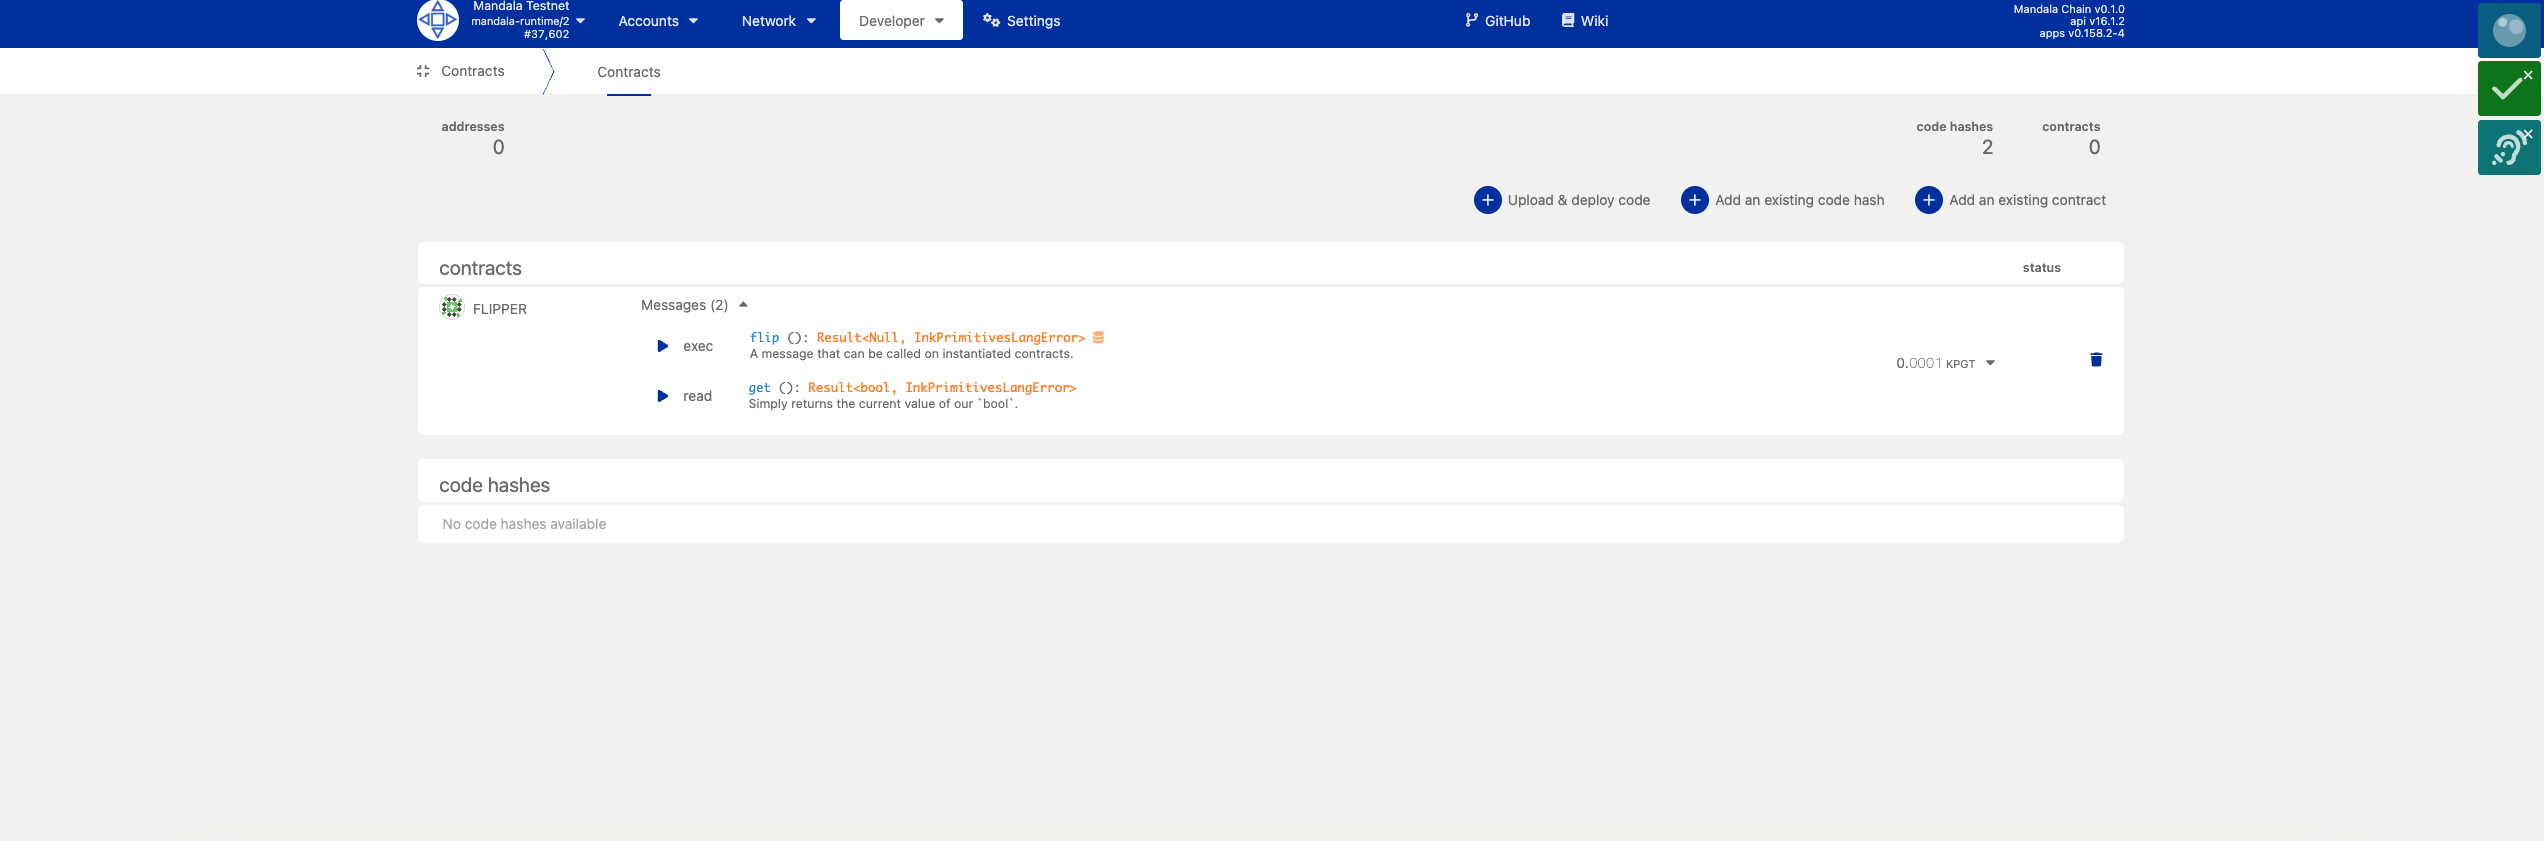
-
get()- Read current value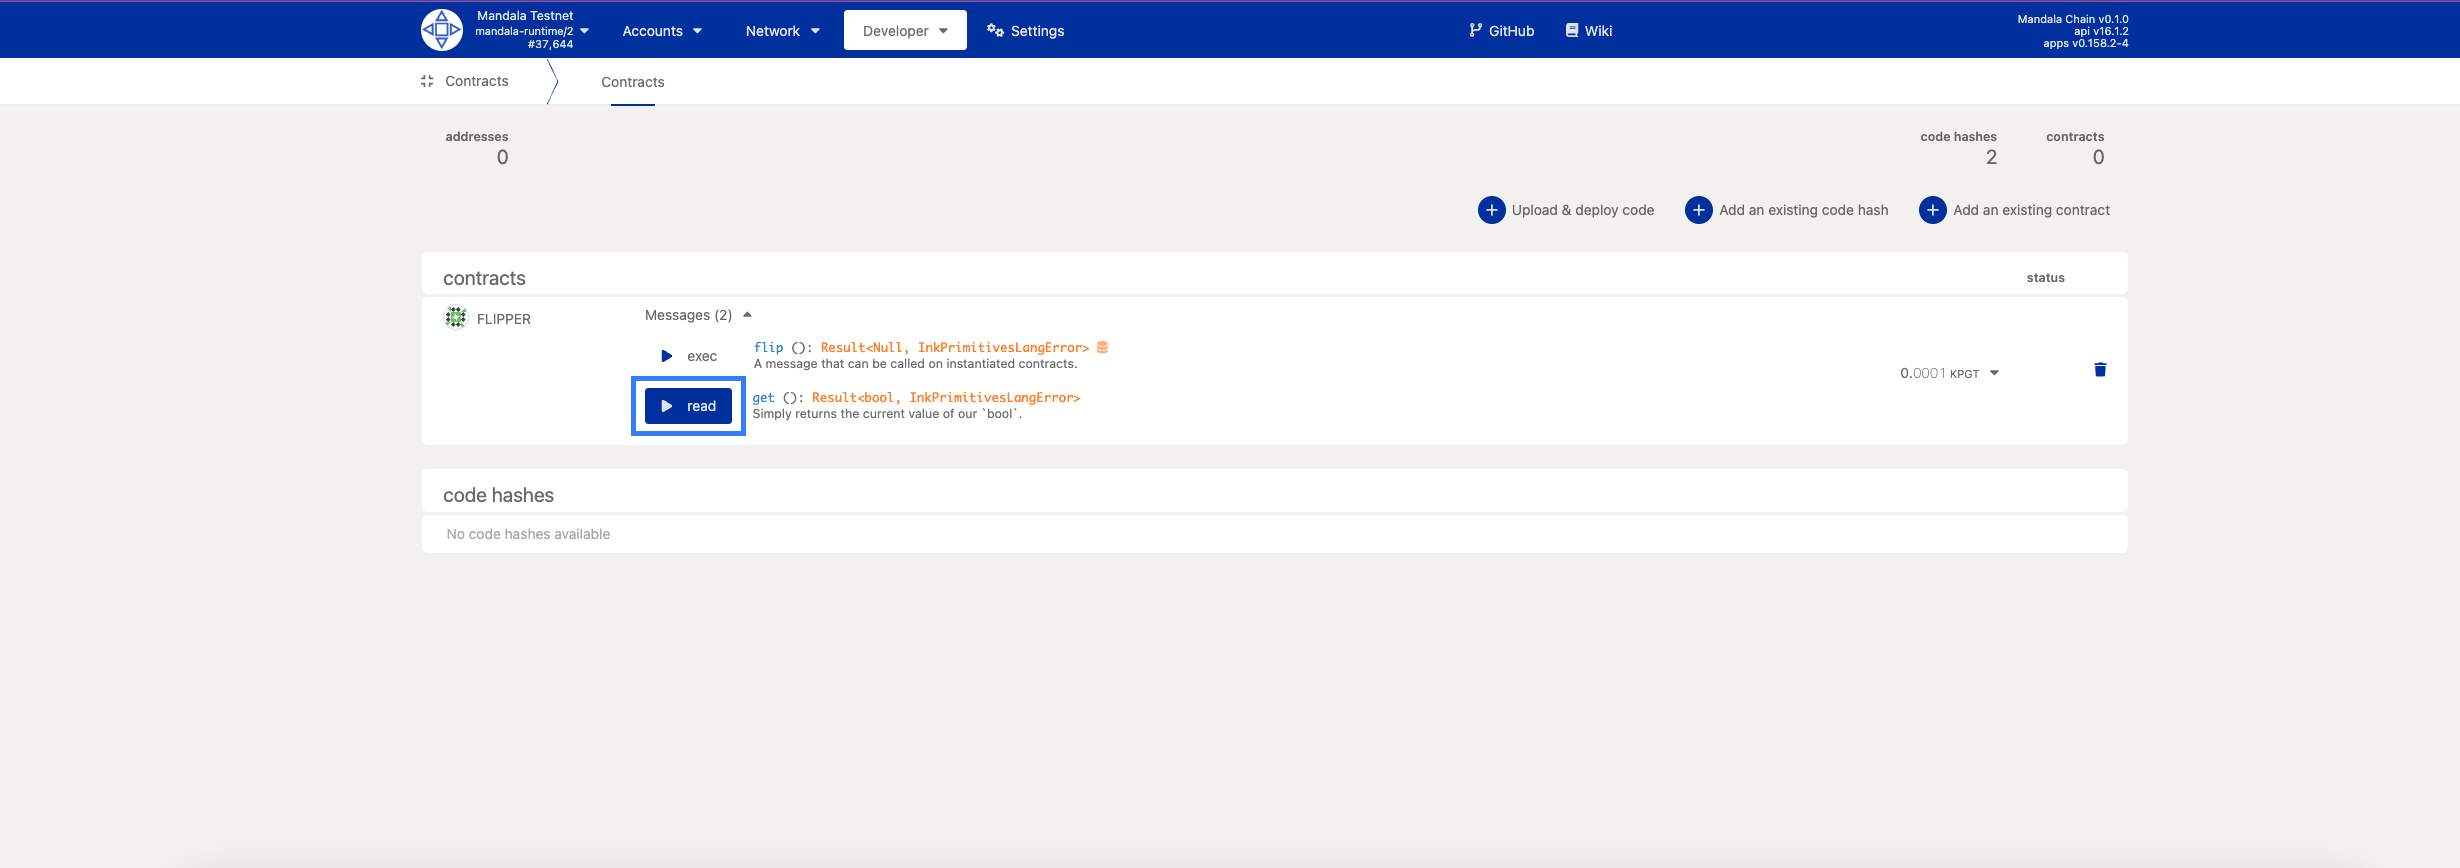
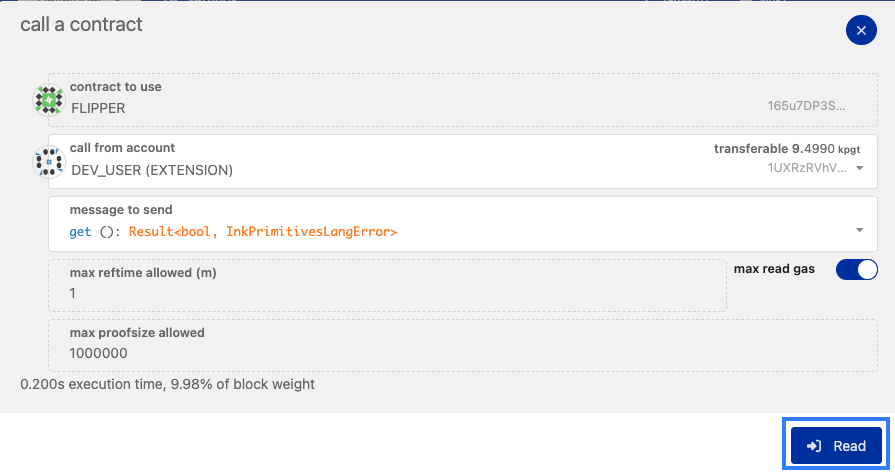
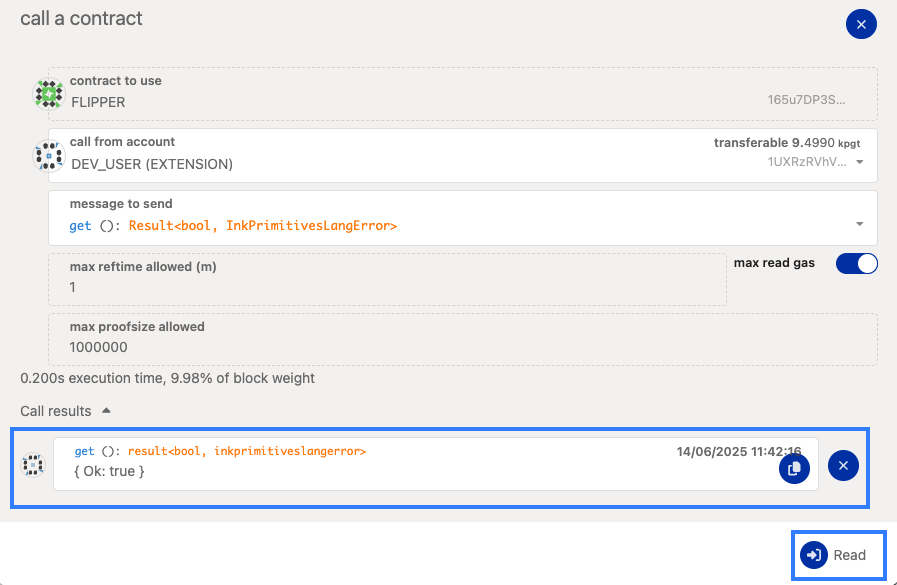
Reading Contract State
Call the get() function:
- Expand your contract in the contracts list
- Click "Call" next to
get() - Set call parameters:
- Account: Any account (reading is free)
- Click "Read"
Result: Shows current boolean value (true/false)
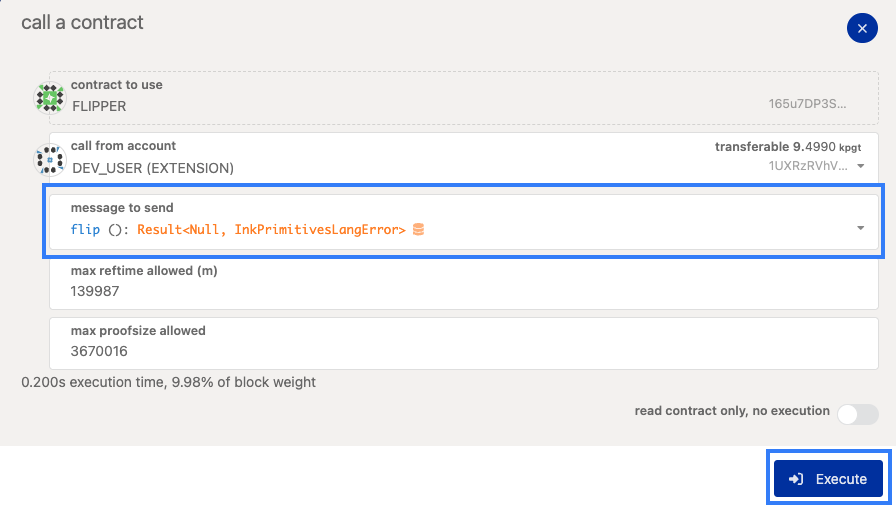
Sending Transactions
Call the flip() function:
-
Click "Exec" next to
flip() -
Configure transaction:
- Account: Your funded account
-
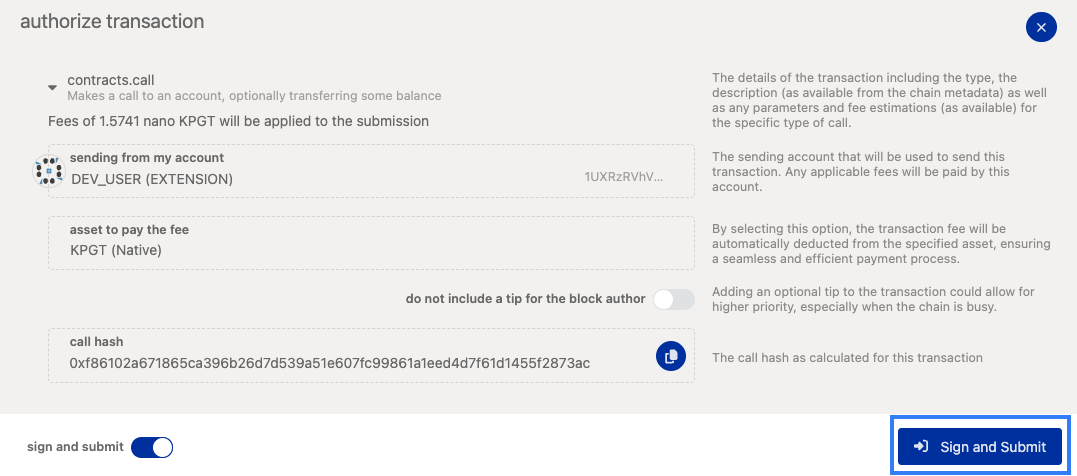
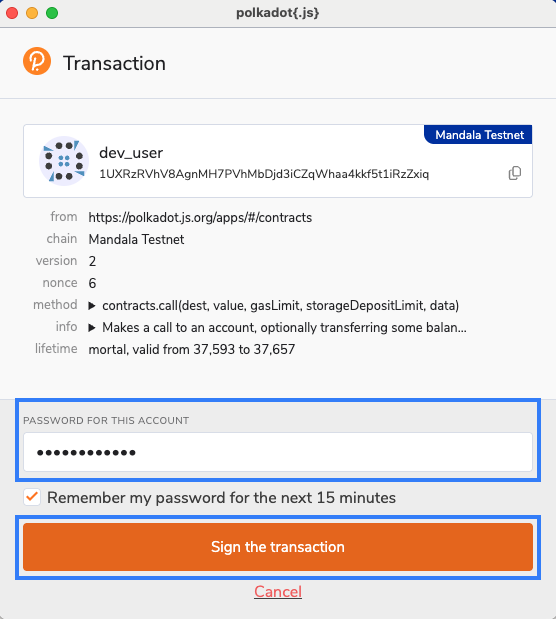
Click "Execute"
-
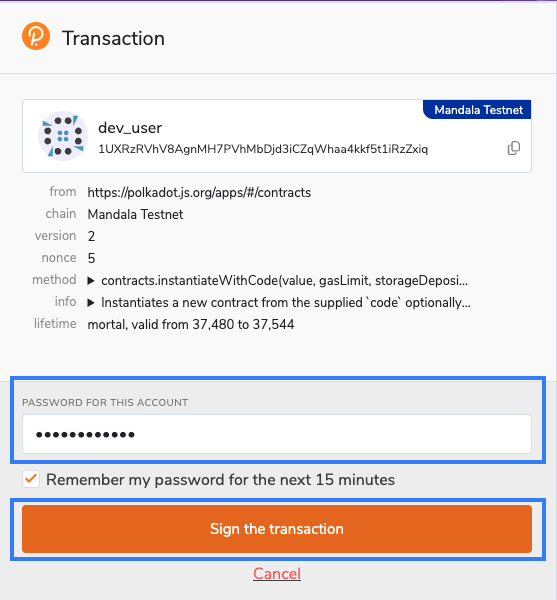
Sign the transaction
Transaction result:
- Success/failure status
- Gas used
- Events emitted
Monitoring Events
View emitted events:
- Go to Network → Explorer
- Find your transaction in recent blocks
- Expand transaction details
- Check Events tab
Advanced Deployment Options
Using Command Line
Deploy via cargo-contract CLI:
# Upload code only
cargo contract upload --suri //Alice --url wss://rpc1.paseo.mandalachain.io

# Instantiate with specific constructor
cargo contract instantiate \
  --constructor new \
  --args true \
  --suri //Alice \
  --url wss://rpc1.paseo.mandalachain.io


# Deploy (upload + instantiate in one command)
cargo contract instantiate \
  --constructor new \
  --args false \
  --suri //Alice \
  --url wss://rpc1.paseo.mandalachain.io \
  --skip-confirm
Batch Deployment
Deploy multiple instances efficiently:
# Upload once
cargo contract upload --suri //Alice

# Instantiate multiple times with different parameters
for i in {1..5}; do
  cargo contract instantiate \
    --constructor new \
    --args $([ $((i % 2)) -eq 0 ] && echo "true" || echo "false") \
    --suri //Alice \
    --skip-confirm
done
Contract Management
Contract Information
Retrieving contract details:
-
Copy contract address from Polkadot.js Apps
-
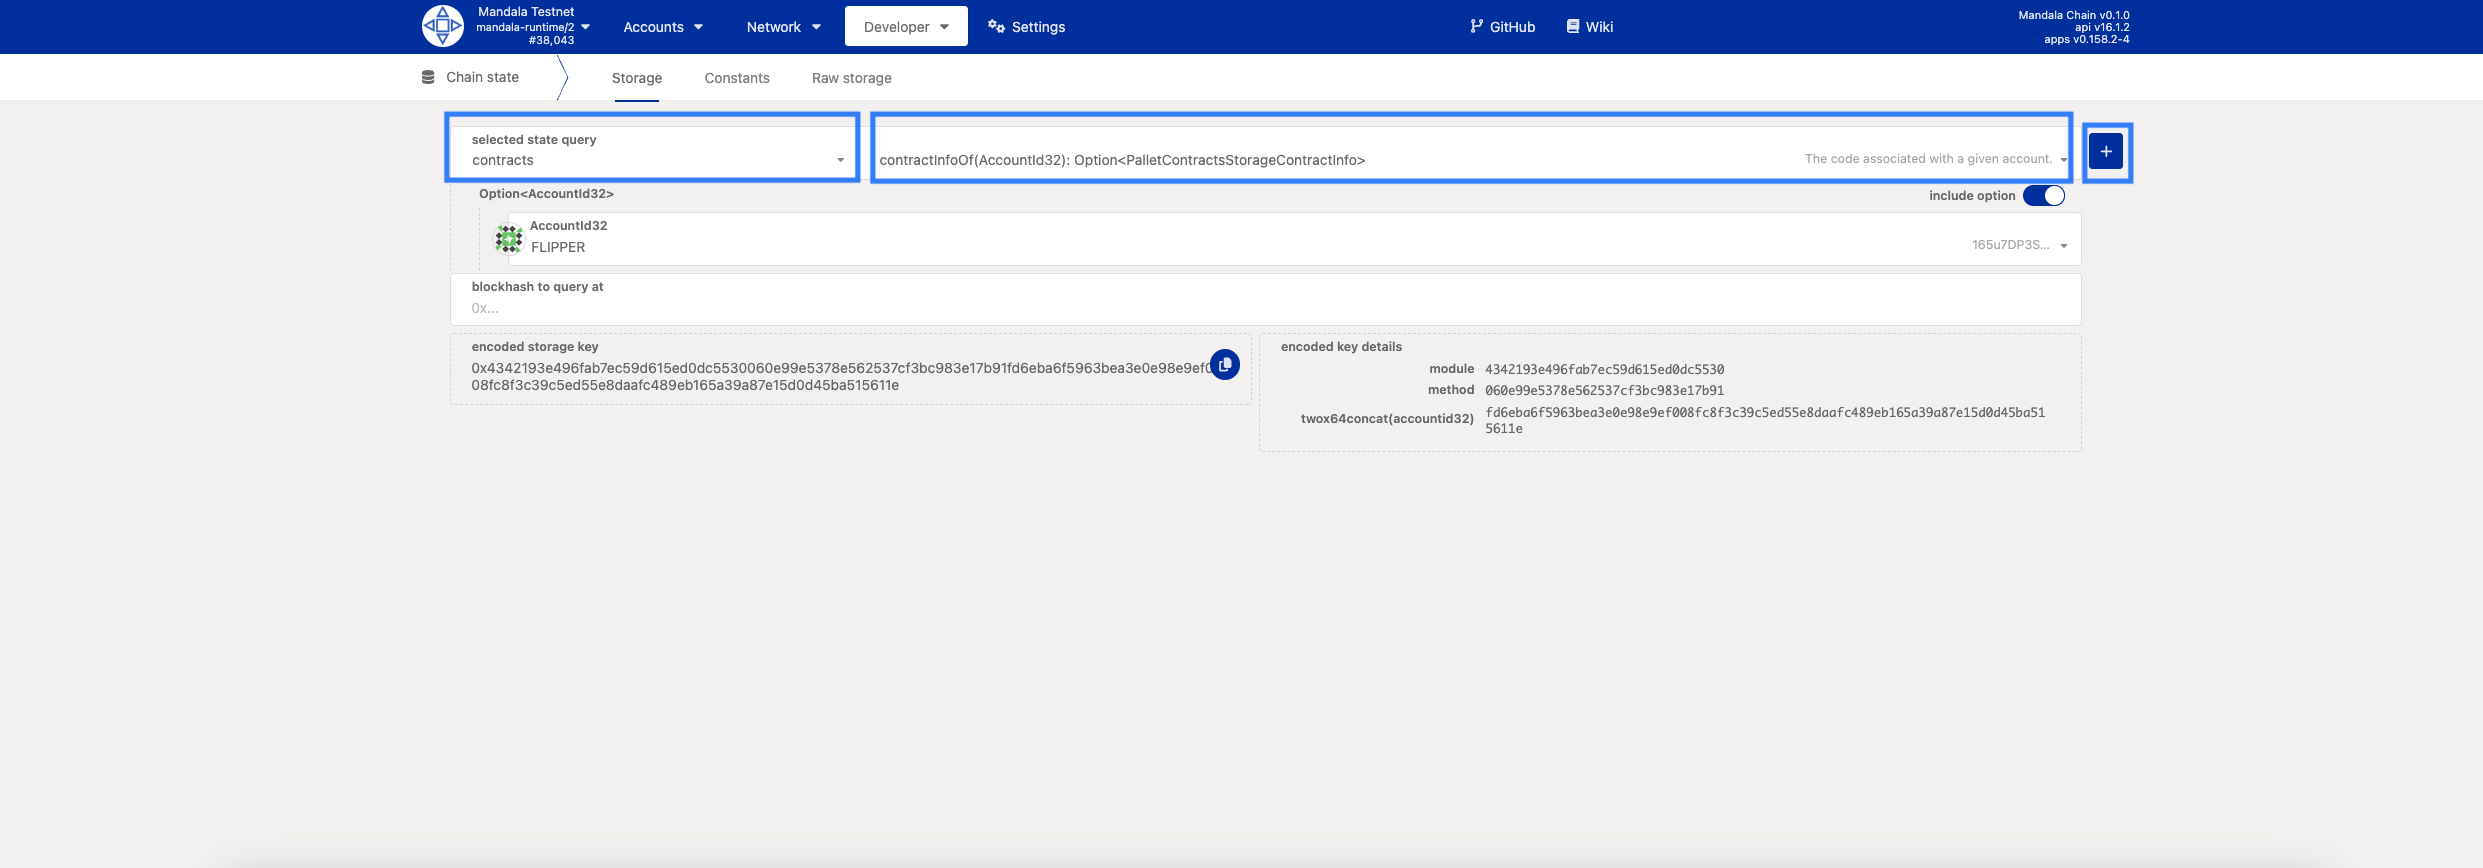
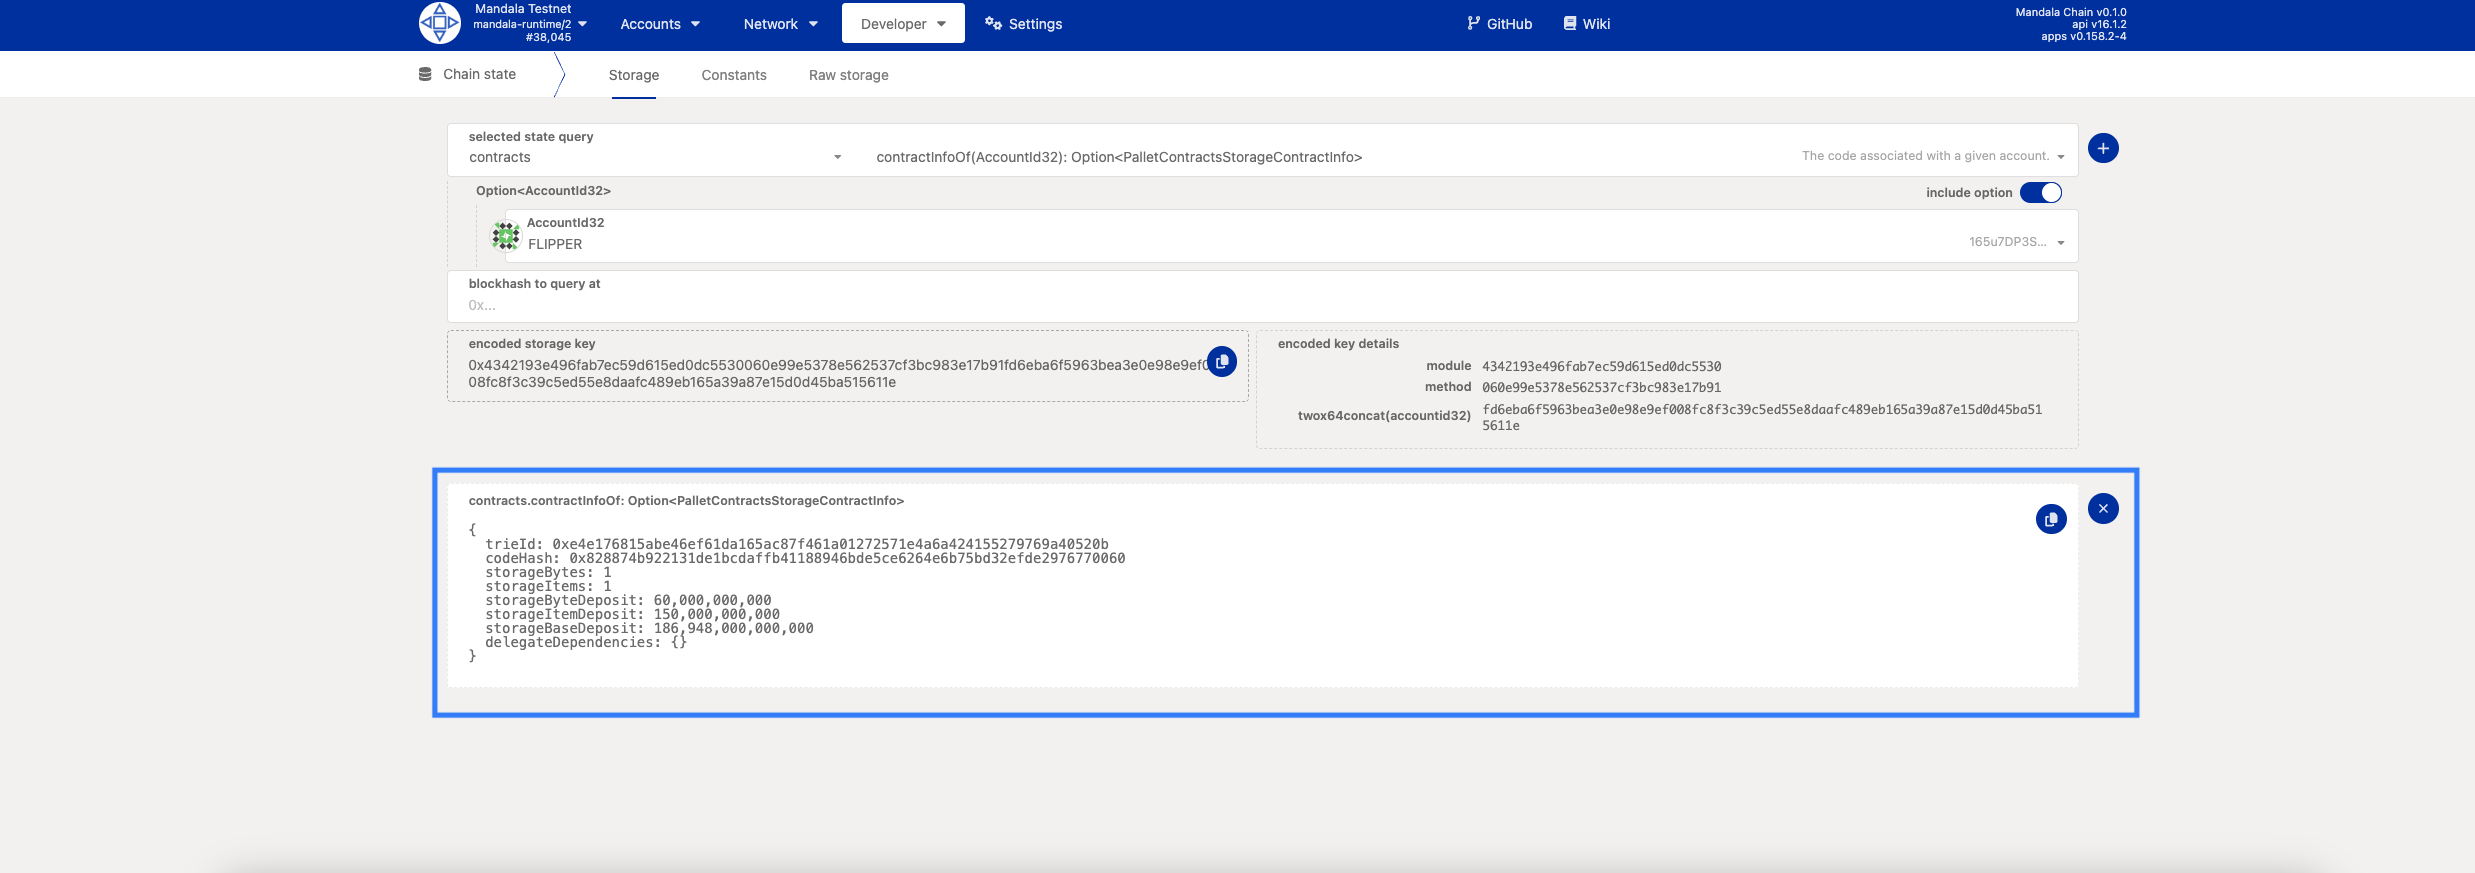
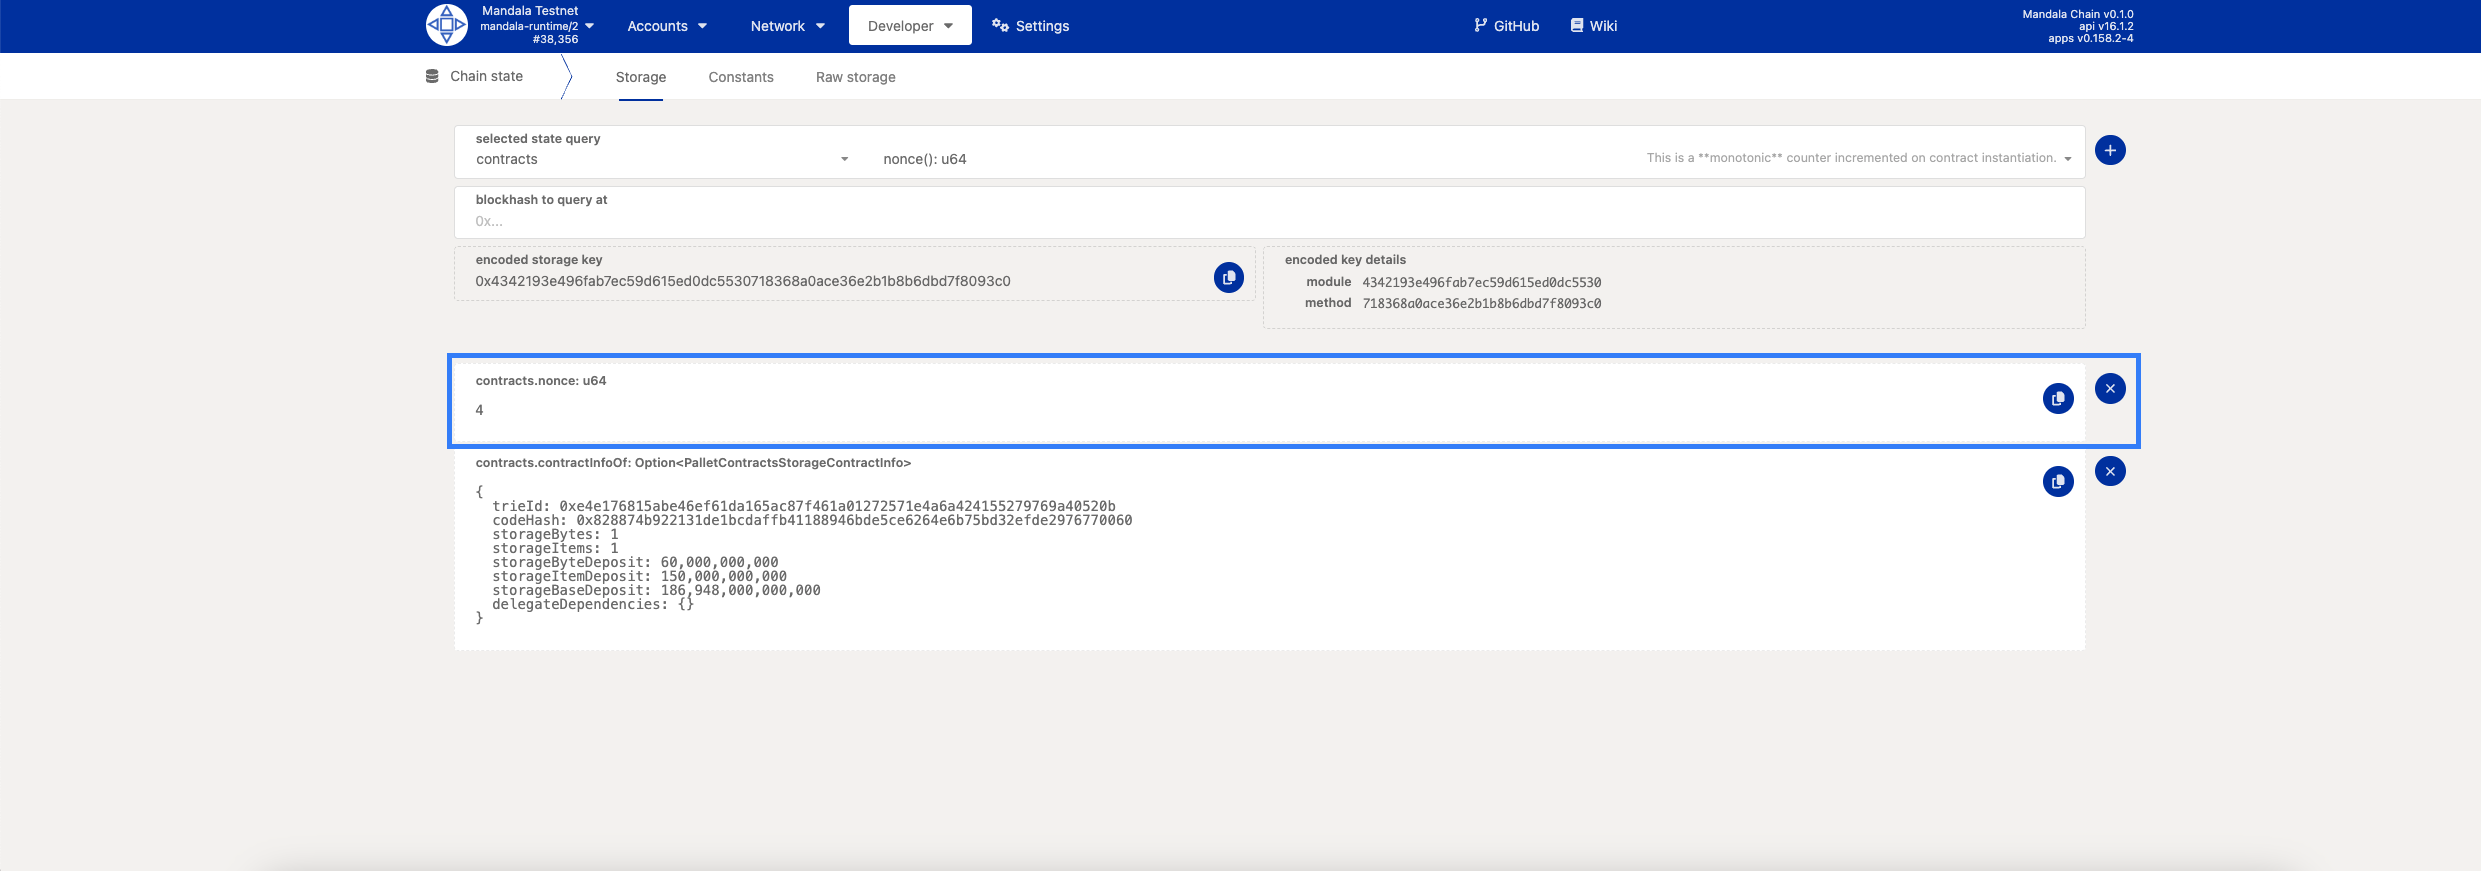
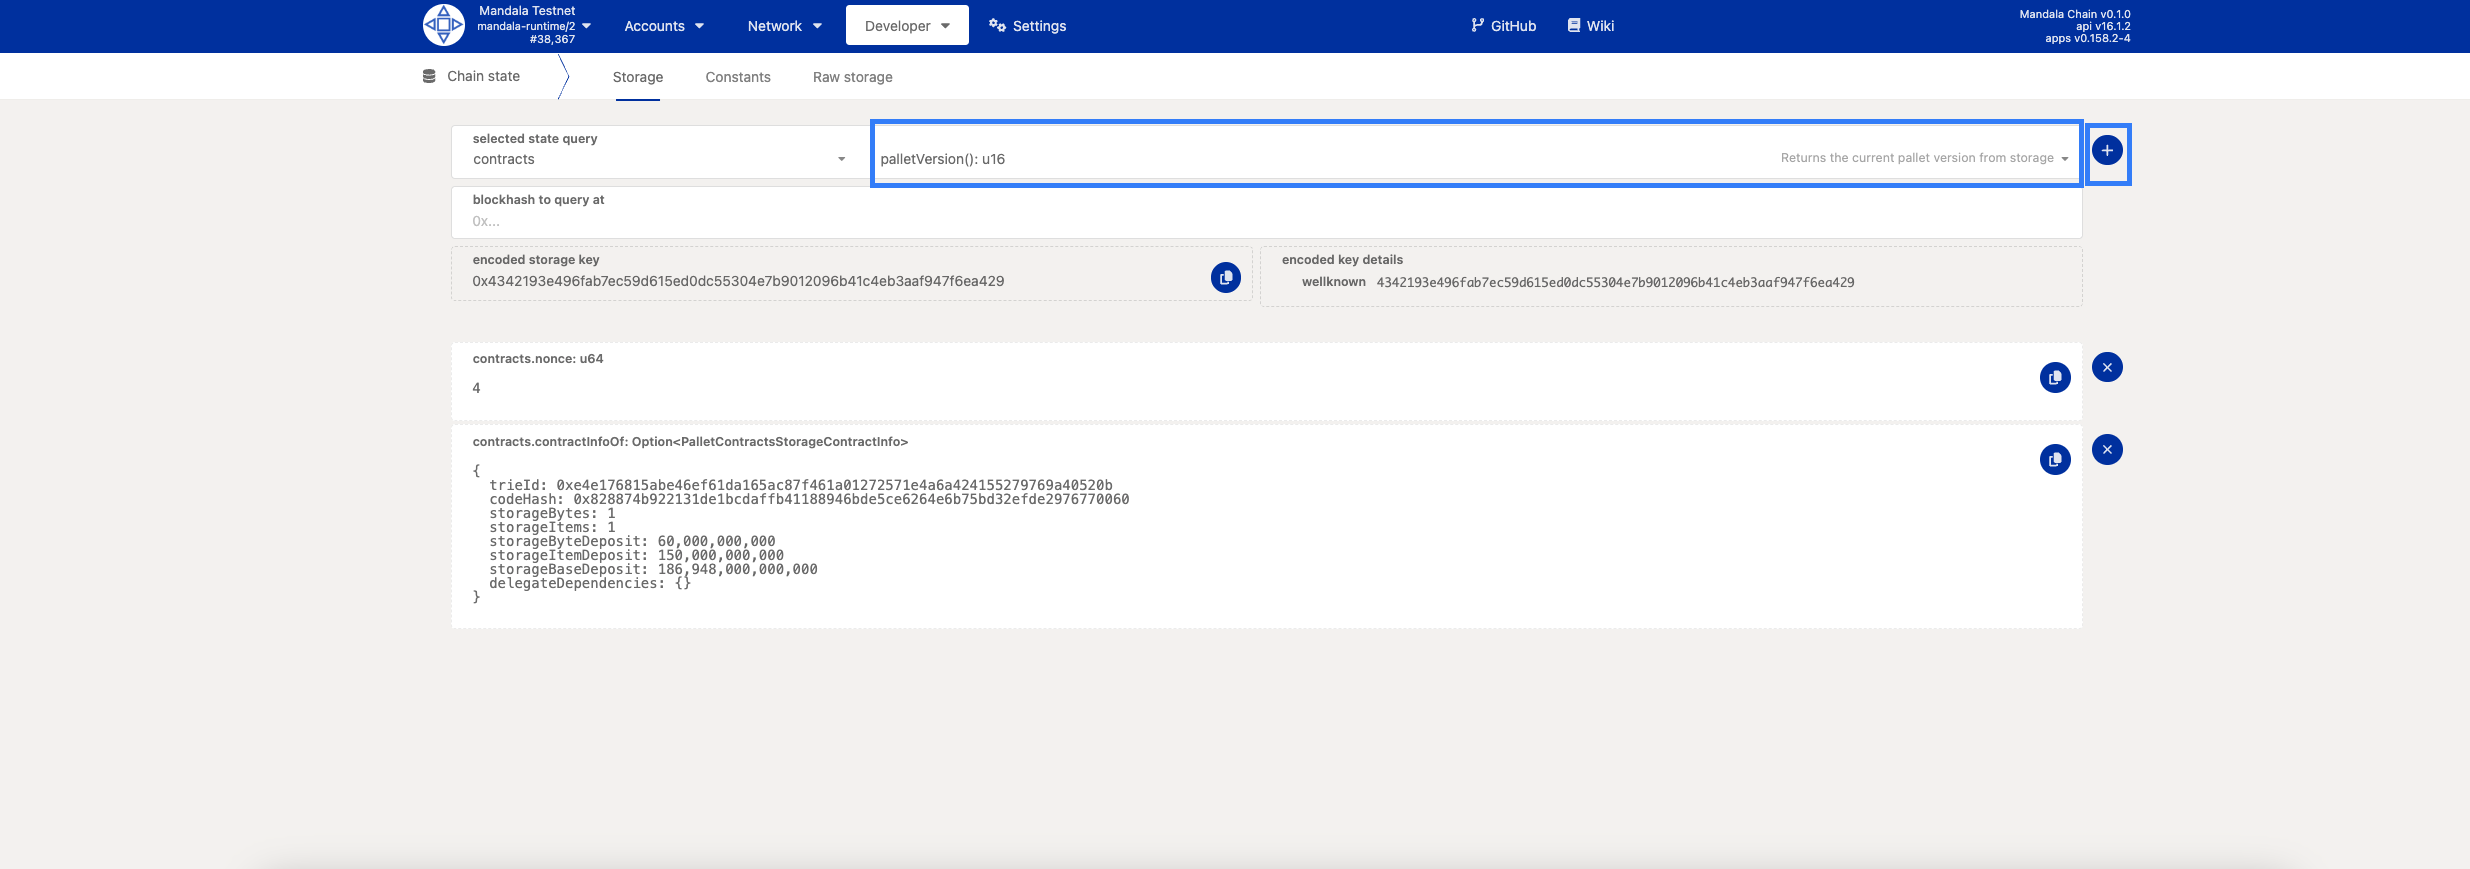
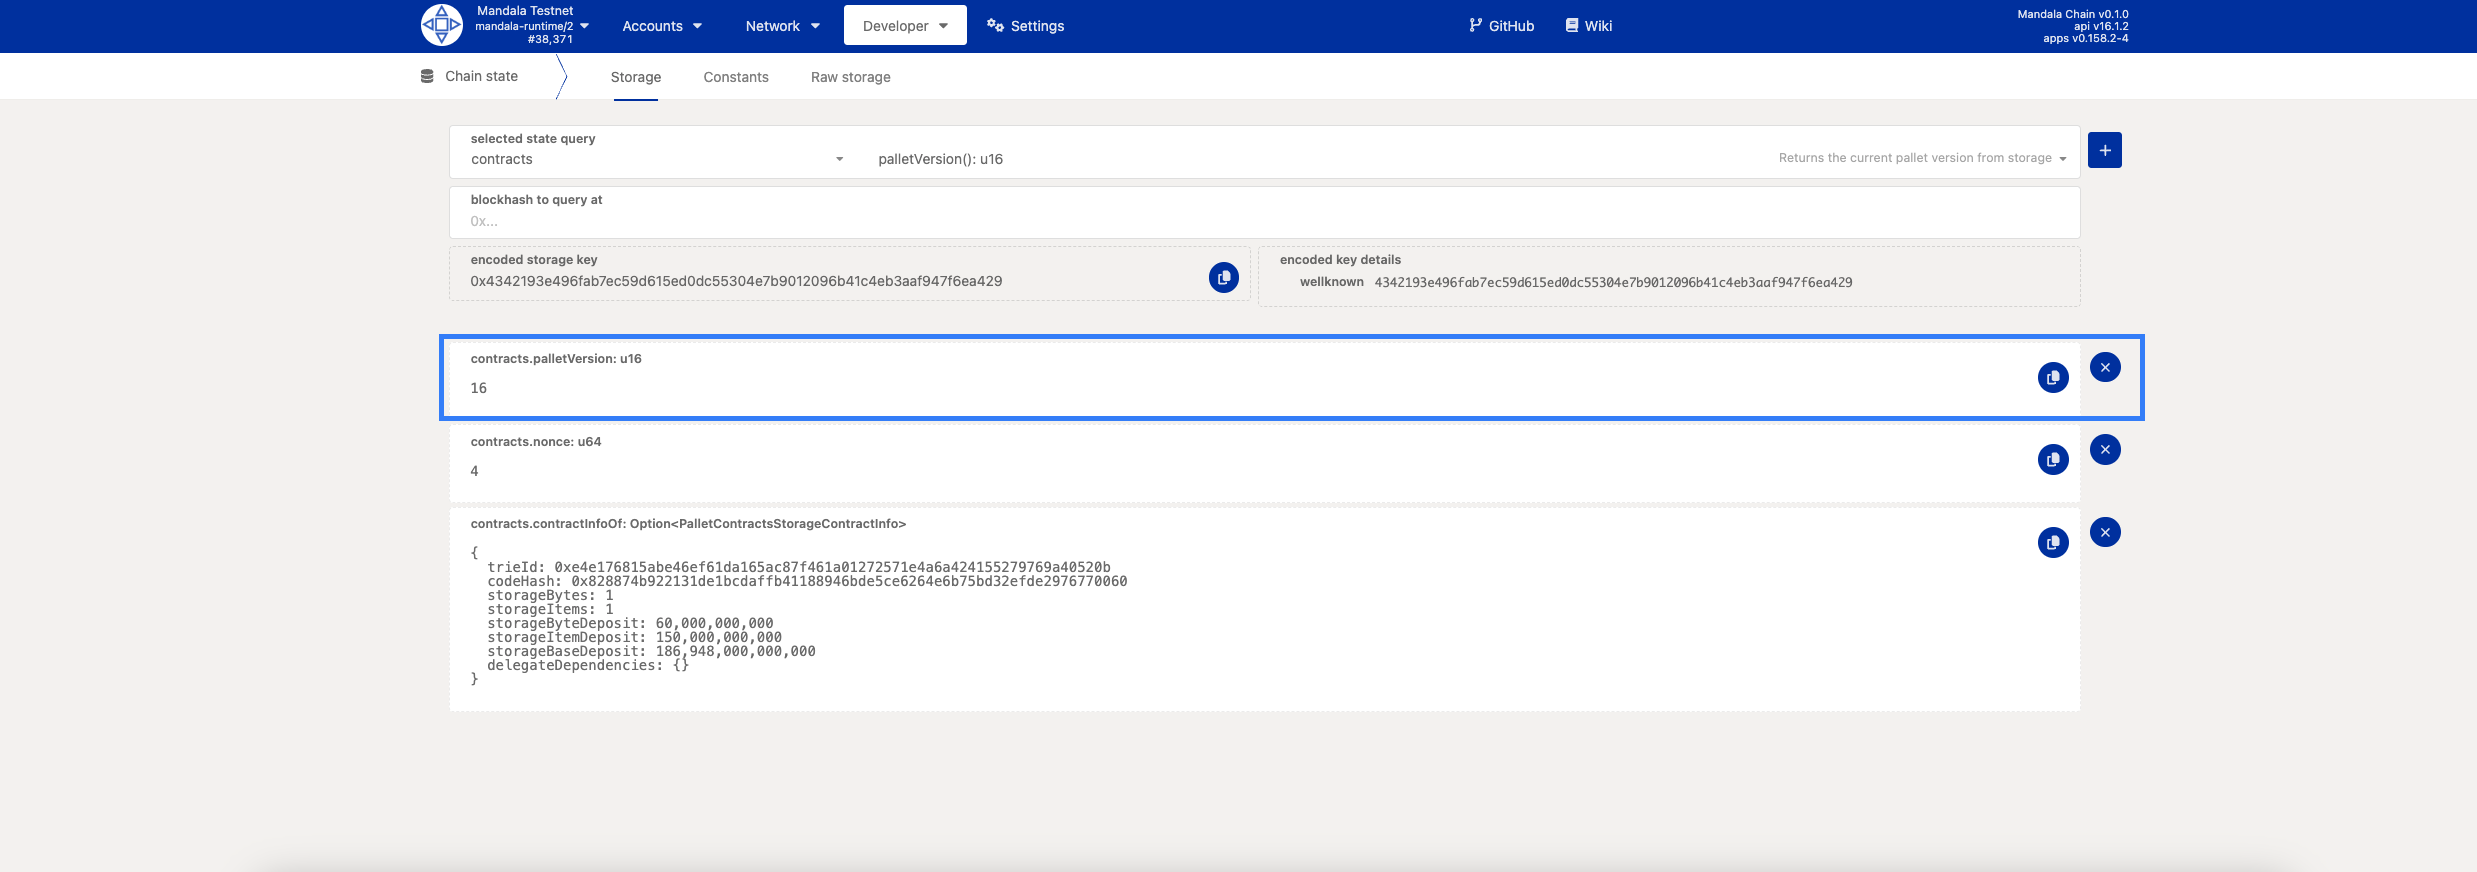
Use Developer → Chain state
-
Query:
contracts.contractInfoOf(address)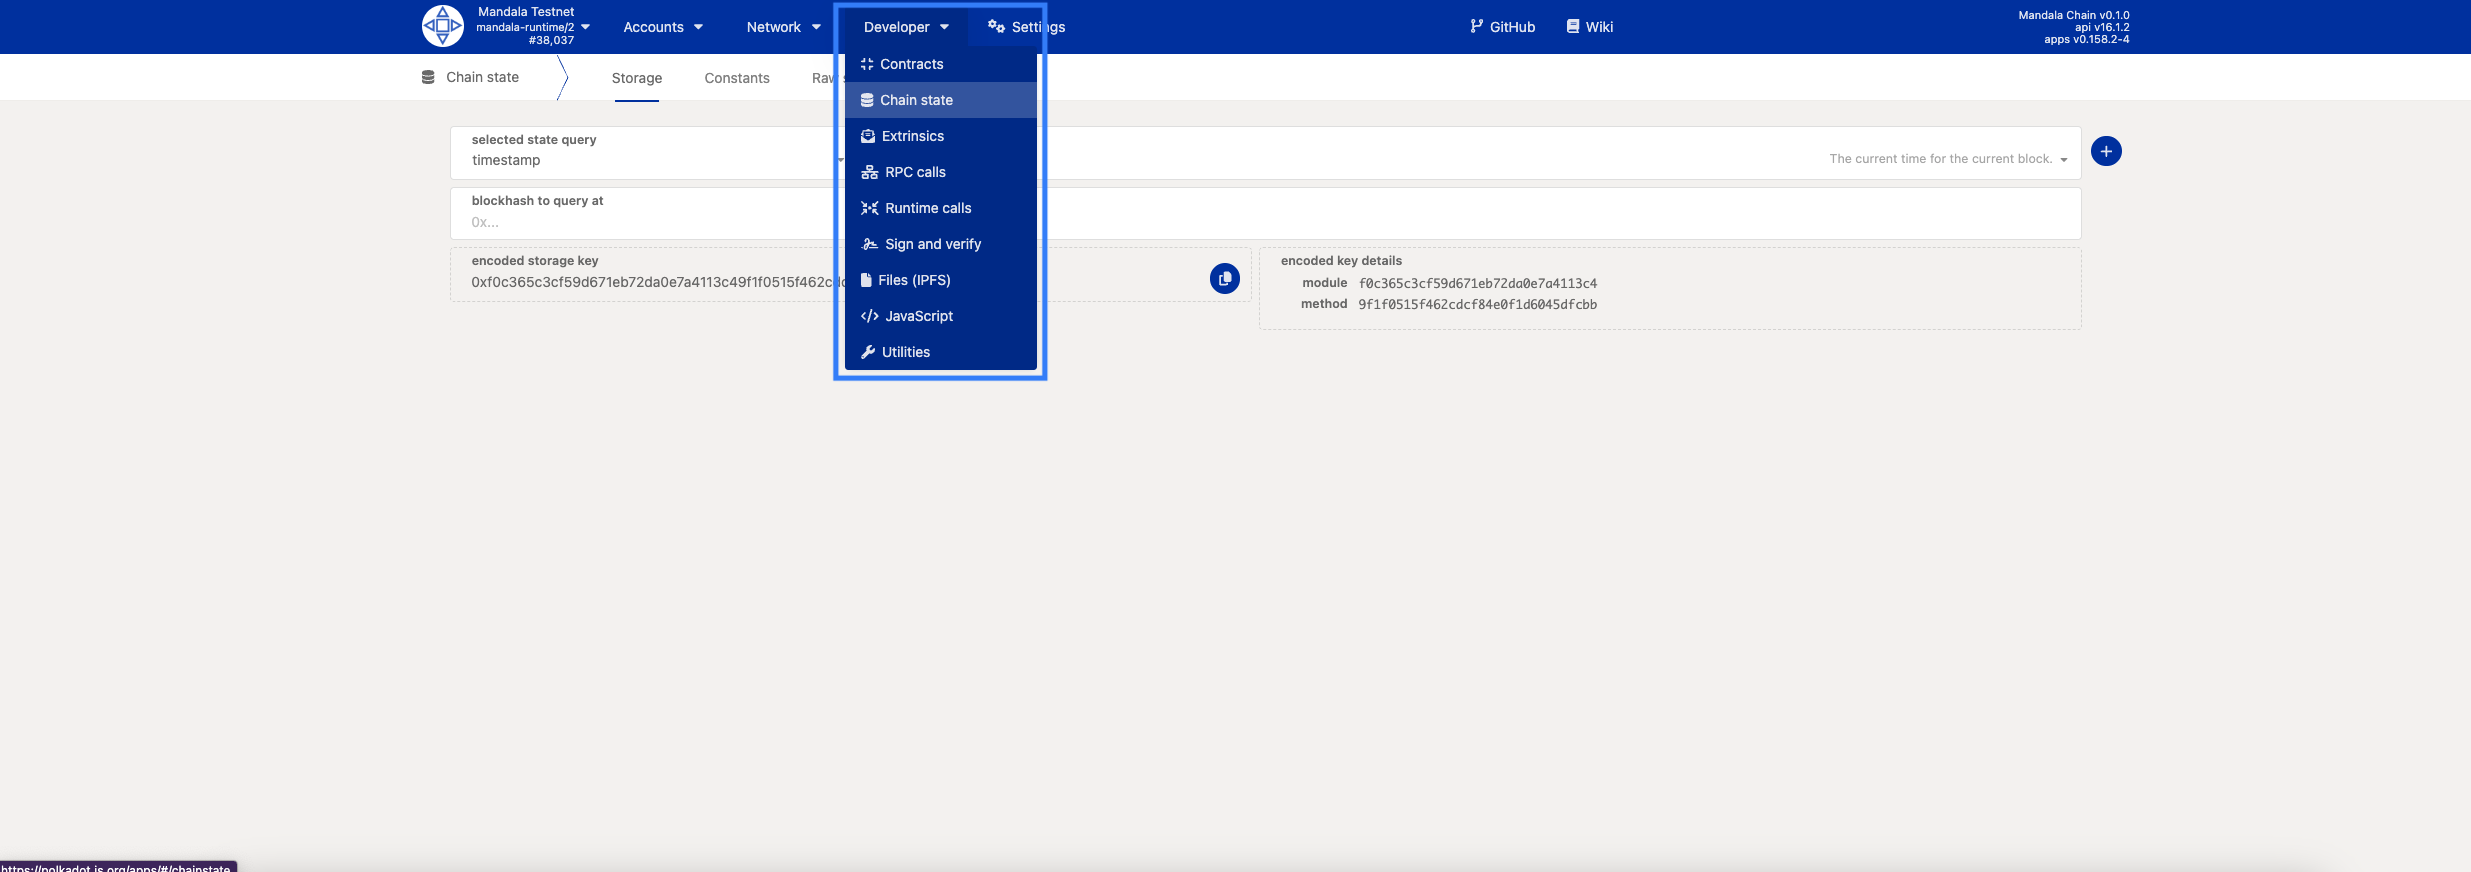
Returned information:
{
  "trieId": "0x...",
  "depositAccount": "5GrwvaEF5zXb26Fz9rcQpDWS57CtERHpNehXCPcNoHGKutQY",
  "depositValue": "1000000000000",
  "codeHash": "0x1234...",
  "storageDeposit": "5000000000000"
}
Contract Storage
View contract storage:

# Query specific storage keys
contracts.contractStorageOf(address, key)

# For Flipper, the boolean value storage key
# Key calculation depends on storage layout
Contract Balance Management
Check contract balance:
// Via chain state
system.account(contractAddress)

// Result shows contract's token balance
Transfer tokens to contract:
// Use balances.transfer extrinsic
balances.transfer(contractAddress, amount)
Troubleshooting Deployment
Common Deployment Errors
"OutOfGas" Error:
Solution: Increase gas limit
- Try doubling the gas limit
- Check contract complexity
- Verify constructor logic
"StorageDepositLimitExhausted":
Solution: Increase storage deposit
- Add more KPGT to your account
- Check storage requirements
- Optimize contract storage
"CodeRejected":
Solution: Verify contract compilation
- Rebuild with cargo contract build --release
- Check WASM validation
- Verify metadata consistency
Gas Optimization
Estimate gas usage:
- Use "Dry Run" option before actual execution
- Monitor gas consumption in successful transactions
- Adjust limits based on actual usage
Gas usage patterns:
- Constructor: Usually 50M-200M gas
- Simple messages: 10M-50M gas
- Complex operations: 100M+ gas
Contract Verification and Security
Code Verification
Verify deployed bytecode:
# Get deployed code
cargo contract info --contract-address CONTRACT_ADDRESS

# Compare with local build
diff <(xxd target/ink/flipper.wasm) <(xxd deployed.wasm)
Contract Upgrades
Upgrading Contract Code
ink! contracts are immutable, but you can implement upgrade patterns:
Option 1: Deploy new version
- Deploy updated contract code
- Migrate state manually
- Update frontend to use new address
Option 2: Proxy pattern
// Implement proxy contract that delegates to implementation
#[ink(storage)]
pub struct Proxy {
    implementation: AccountId,
    admin: AccountId,
}

#[ink(message)]
pub fn upgrade(&mut self, new_implementation: AccountId) -> Result<()> {
    // Only admin can upgrade
    // Update implementation address
}
Next Steps
With your contract deployed on Mandala:
- Build your first EVM contract - Compare with Solidity development
Additional Resources:
Congratulations! You've successfully deployed your first ink! smart contract to Mandala Testnet. Your contract is now live and ready for interaction!